
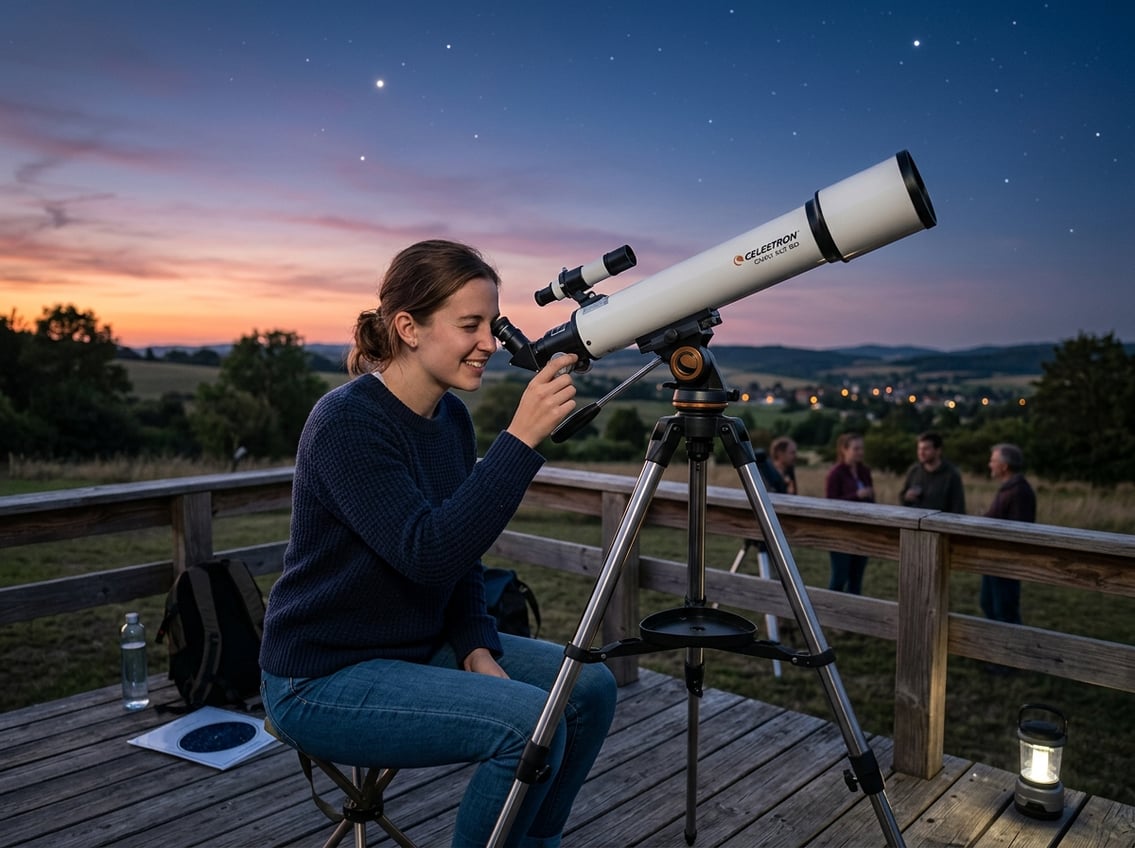
Choosing a first telescope can feel overwhelming with so many options available, but understanding a few basic factors makes the decision much simpler. The best telescope for beginners is one that balances ease of use, good optics, and the ability to observe planets and deep-sky objects without requiring complex setup or maintenance. Many newcomers make the mistake of buying either too basic or too advanced equipment, leading to frustration rather than enjoyment.
The right telescope depends on what objects someone wants to view, their budget, and how much time they want to spend setting up equipment each night. Different telescope designs offer distinct advantages, and the mounting system can be just as important as the optics themselves. Expert reviewers who have tested multiple models confirm that certain telescopes consistently deliver better experiences for newcomers.
This guide walks through the essential features to consider, explains the main telescope types, and highlights top picks that work well for first-time stargazers. It also covers what beginners can realistically expect to see through their telescope and how to get the most out of their new equipment from the very first night.
Last Updated: May 2026 | Will Montgomery is an amateur astronomer who has personally tested and compared beginner telescopes to help new stargazers make smart first purchases.
Key Considerations When Choosing Your First Telescope
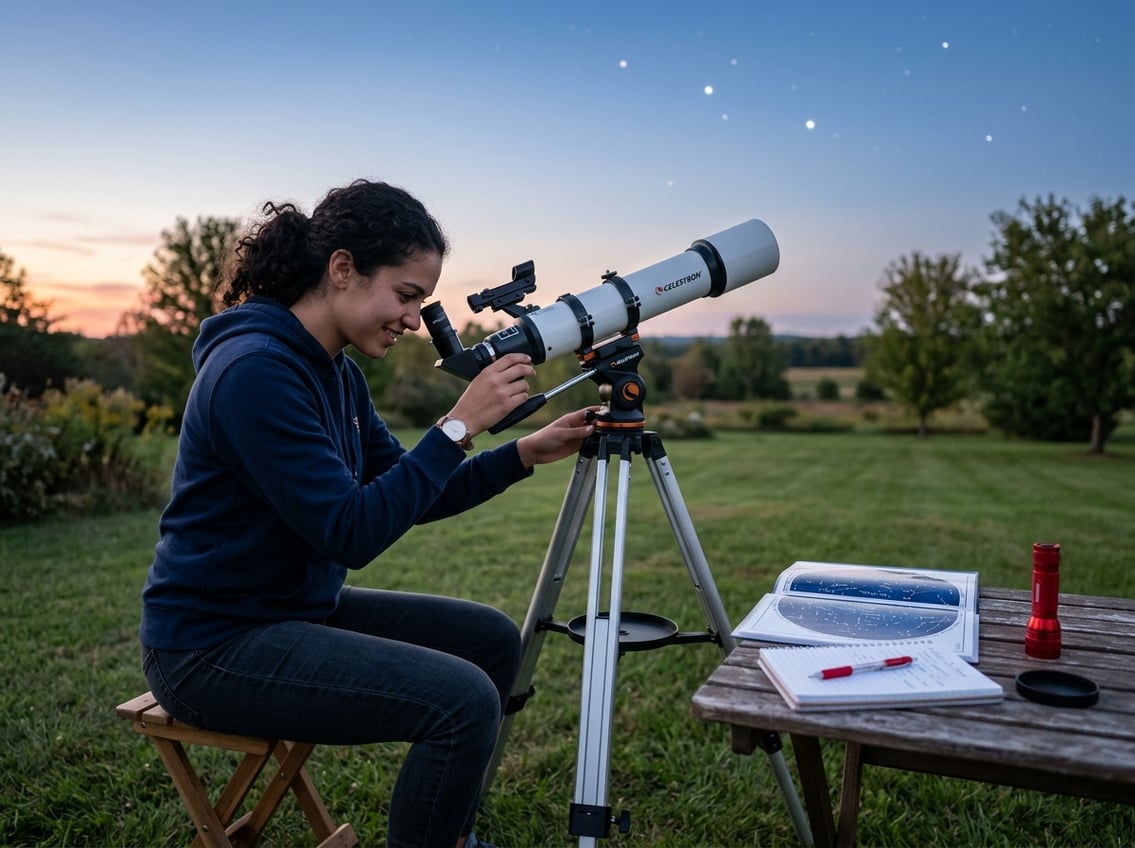
The aperture size determines how much light a telescope can gather, while your specific interests in planets versus deep-sky objects will guide which type suits you best. Budget planning should account for both the telescope itself and essential accessories that enhance the viewing experience.
Understanding Aperture and Magnification
Aperture is the most important specification when selecting a telescope. It refers to the diameter of the main mirror or lens. The larger the aperture, the more light the telescope collects.
Recommended aperture sizes for beginners:
- 4 to 5 inches: Great for viewing planets, the Moon, and Jupiter’s moons
- 6 inches or larger: Better for viewing star clusters, galaxies, and nebulae
Bigger apertures reveal fainter objects and show more detail. However, larger telescopes become heavier and harder to transport.
Magnification matters less than aperture. A small telescope with high magnification only zooms in on a blurry image because it cannot collect enough light. Magnification above 200x provides little benefit for beginner telescopes.
Buyers can calculate magnification by dividing the telescope’s focal length by the eyepiece’s focal length. Different eyepieces change the magnification, making aperture the more critical fixed feature.
Assessing Your Observing Interests and Needs
Different celestial objects require different telescope capabilities. Planets, the Moon, and bright objects show up well in 4 to 5-inch telescopes. Neptune and Uranus become difficult to view with these smaller apertures.
Deep-sky objects like galaxies and nebulae need larger apertures to appear clear. These objects emit less light than planets.
Practical factors to consider:
- Weight and portability: Will you transport the telescope to dark sky sites?
- Storage space: Can you store a large telescope when not in use?
- Setup ease: Do you want something children can help operate?
- Light pollution: Urban viewers benefit from larger apertures or computerized GoTo systems
Computerized mounts help find objects in light-polluted areas but prevent learning the night sky naturally. Manual telescopes teach constellation patterns and sky navigation better.
Budgeting for Quality and Accessories
Quality beginner telescopes start around $200 to $400. Computerized mounts push prices toward the upper end of this range. Telescopes under $100 often frustrate users with poor optics and unstable mounts.
Reflector telescopes offer better value than refractors. Mirrors cost less to manufacture than lenses, so reflectors provide larger apertures at the same price point.
Essential accessories to budget for:
- Extra eyepieces for different magnifications
- Star charts or astronomy apps
- Red flashlight for preserving night vision
- Smartphone adapter for basic astrophotography
Understanding different telescope types helps determine long-term costs. Reflectors need mirror cleaning and periodic realignment. Refractors require minimal maintenance beyond lens cleaning.
Buyers uncertain about the hobby can start with quality binoculars. These reveal Moon craters, bright star clusters, and Jupiter’s moons while costing less than telescopes.
Types of Telescopes Explained
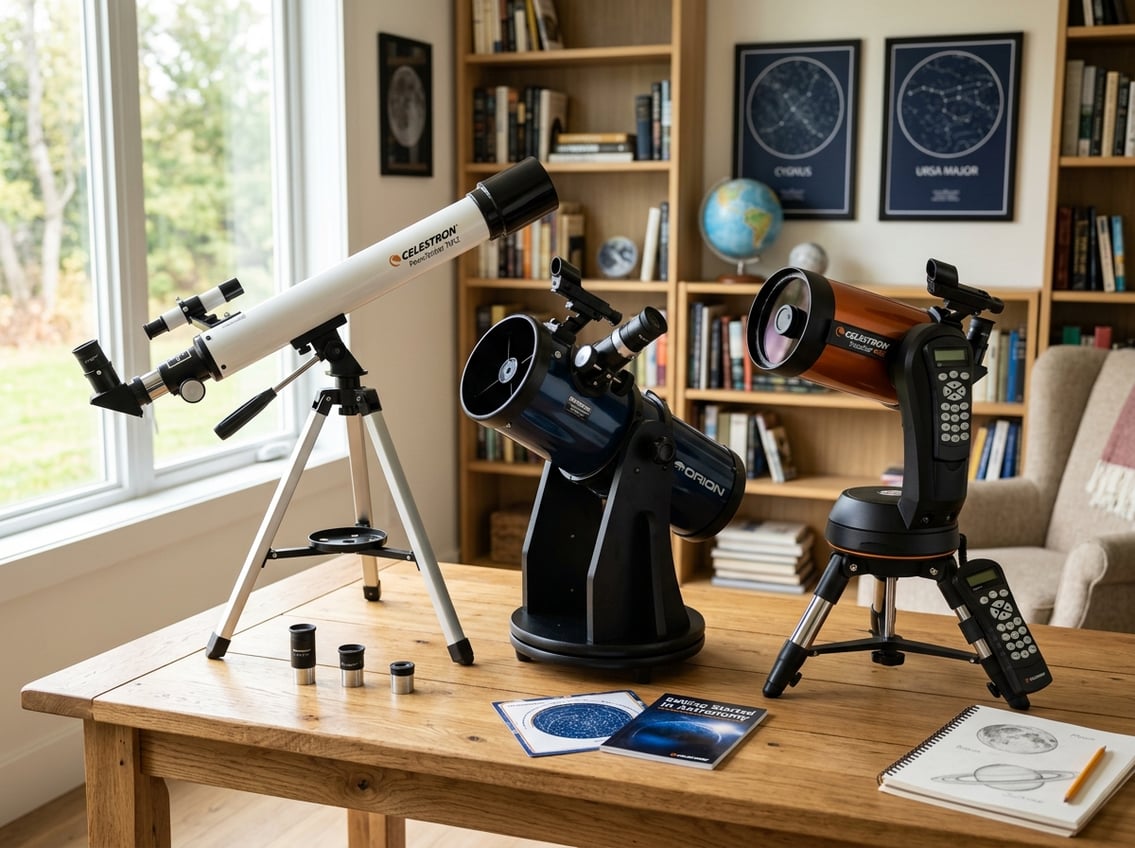
Three main telescope designs dominate the beginner market: refractors use lenses at the front, reflectors use mirrors at the back, and compound telescopes combine both technologies. Each type offers distinct advantages in cost, portability, and image quality.
Refractor Telescopes
Refractor telescopes use a large lens at the front of the tube to gather and focus light. This design matches what most people picture when they think of a traditional telescope.
Refractors generally deliver sharper and brighter images per inch of aperture than other designs. The sealed tube protects the optics from dust and requires almost no maintenance. These telescopes excel at viewing the Moon, planets, and double stars.
The main drawback is cost. Quality refractors cost significantly more per inch of aperture than reflectors. A good 4-inch refractor might cost as much as an 8-inch reflector.
Best for:
- Planetary observation
- Lunar detail
- Low-maintenance observing
- Compact storage needs
Beginners often appreciate refractors for their durability and ease of use. The tube stays aligned and ready to observe without frequent adjustments.
Reflector Telescopes
Reflector telescopes use a curved mirror at the bottom of the tube to collect light. The mirror bounces light back up to a smaller secondary mirror, which directs it to the eyepiece on the side of the tube.
This design offers the most aperture for the money. An 8-inch reflector costs less than half what a similar quality 4-inch refractor would cost. Larger apertures gather more light, making faint galaxies and nebulae easier to see.
Reflectors need occasional maintenance. The mirrors require alignment (collimation) every few months or after transport. The open tube also allows dust to settle on the mirrors over time.
Aperture comparison:
- 6-inch reflector: gathers 4x more light than 3-inch refractor
- 8-inch reflector: gathers 7x more light than 3-inch refractor
- 10-inch reflector: gathers 11x more light than 3-inch refractor
Many types of reflector telescopes exist, but Newtonian reflectors remain the most popular for beginners.
Compound and Catadioptric Telescopes
Compound telescopes combine lenses and mirrors in a compact tube design. Schmidt-Cassegrain and Maksutov-Cassegrain represent the two most common types for amateur astronomers.
These scopes fold the light path inside the tube. A typical 8-inch Schmidt-Cassegrain tube measures only 16 inches long, while a reflector of the same aperture stretches 4 feet. This portability makes compound scopes popular for observers with limited storage or who travel to dark sky sites.
The compact design comes with trade-offs. Compound telescopes cost more than reflectors of equal aperture. They also have longer focal ratios (typically f/10 to f/15), which limits wide-field viewing capability.
Key features:
- Compact size: Easy to transport and store
- Versatile: Works well for planets and deep-sky objects
- Higher cost: Premium price per inch of aperture
- Sealed tube: Protected optics like refractors
Catadioptric designs work particularly well for astrophotography because their short tubes reduce weight on mounting systems.
Mounts and Setup: Making Stargazing Hassle-Free
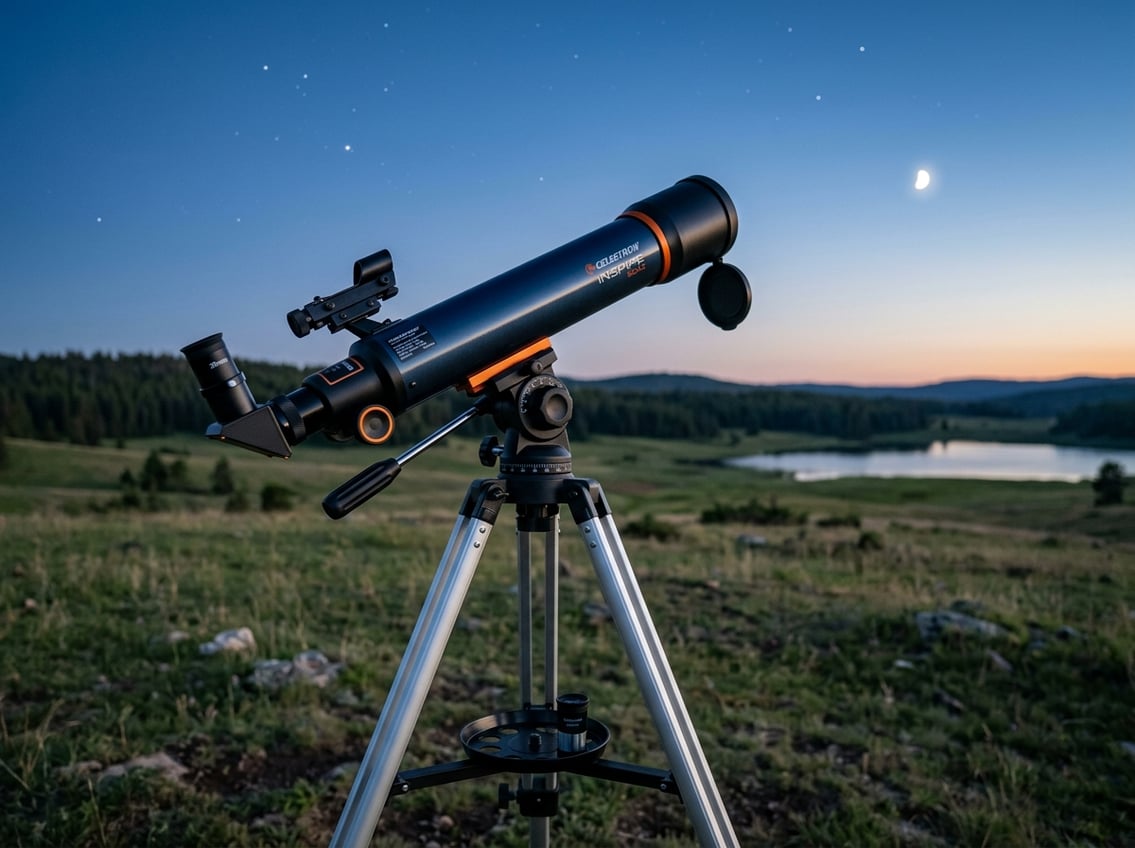
The mount determines how smoothly a telescope moves and how quickly beginners can start observing. A stable mount paired with straightforward setup steps turns frustrating evenings into successful stargazing sessions.
Altazimuth vs. Equatorial Mounts
Altazimuth mounts move up-down and left-right, just like a camera tripod. They work well for visual observing and require almost no learning curve. Beginners can point the telescope anywhere in the sky without complicated adjustments.
Most Dobsonian telescopes use altazimuth designs. The simple motion makes it easy to track objects by hand, though tracking requires adjustments in two directions as objects drift across the sky.
Equatorial mounts align with Earth’s rotation axis. Once polar-aligned, observers only turn one axis to follow celestial objects. This design works better for astrophotography since it compensates for Earth’s rotation naturally.
Star trackers and travel mounts handle camera lenses and small refractors, while larger equatorial mounts support bigger telescopes. The trade-off is setup time—equatorial mounts need careful polar alignment before use.
Ease of Use and Portability
Weight matters more than most beginners expect. A telescope that stays in the garage because it’s too heavy to carry never gets used.
Tabletop telescopes weigh 5-10 pounds and fit in a backpack. Full-size Dobsonians range from 30-60 pounds depending on aperture. Computerized telescopes add battery packs and controller boxes to the load.
GoTo mounts automatically find objects after a simple alignment procedure. They help beginners locate faint targets without star charts. Manual mounts cost less and never need batteries, but require learning the night sky.
Mounts and tripods need proper support for clear views. Wobbly setups magnify every vibration, making focusing difficult. A stable mount costs less than upgrading to a bigger telescope later.
First Night Setup Checklist
Before heading outside:
- Charge batteries for computerized mounts
- Pack red flashlight for reading charts
- Bring extra eyepieces in protective cases
- Download sky map apps to smartphone
At the observing site:
- Set up on level, stable ground away from lights
- Allow 30 minutes for telescope to reach air temperature
- Start with lowest power eyepiece for easier targeting
- Practice focusing on the Moon or bright planet first
Collimation checks ensure mirrors or lenses align properly. Reflector telescopes may need mirror adjustment every few sessions. Refractors rarely need collimation after leaving the factory.
Top Telescopes for Beginners in 2026
From experience: My first scope was a Bushnell — a great brand name to most moms, but the eyepiece optics were so limited I could barely see anything beyond the moon. I was about 12. Most of those gift-aisle telescopes may spark interest, but in my experience they just as often discourage people. A better first scope changes everything.
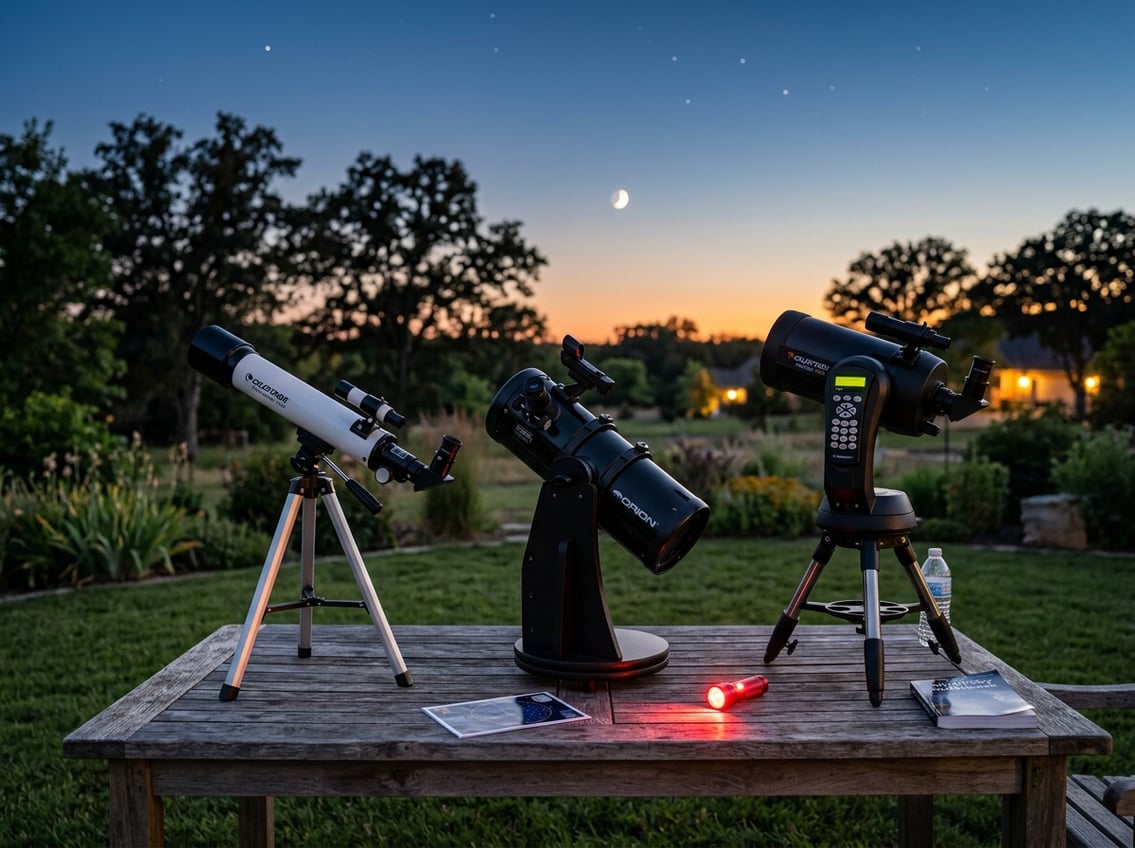
Several standout models have earned top ratings from astronomy experts this year, with options ranging from computerized systems that locate objects automatically to simple manual scopes that cost under $200. The right choice depends on budget, portability needs, and whether advanced features like smartphone connectivity matter.
Best Overall Beginner Models
The Celestron NexStar 130SLT ranks as the best telescope for most beginners in 2026, according to detailed testing. It features a 130mm aperture that reveals genuine detail on planets and deep-sky objects. The GoTo mount finds over 4,000 celestial objects automatically with just a push of a button.
This model averages 4.3 stars across more than 2,000 Amazon reviews. Users appreciate the balance between power and ease of use. The setup takes about 30 minutes for first-time telescope owners.
The NexStar requires 8 AA batteries or an optional power adapter. The motorized mount eliminates the frustration of manually tracking objects as they move across the sky. Saturn’s rings and Jupiter’s moons appear clear on the first night of use.
Budget-Friendly Choices
Quality beginner telescopes start under $100 for those testing their interest in astronomy. Tabletop Dobsonian reflectors offer the best value in this price range. These simple designs use a rotating base instead of a complex mount.
The 76mm aperture models show lunar craters and bright planets clearly. They weigh between 5-8 pounds and store easily in a closet. No batteries or electronics means less can break or malfunction.
Mid-range options between $200-$400 provide better optics and larger apertures. A 4-inch refractor or 6-inch reflector opens up views of nebulae and star clusters. These scopes last for years as skills improve.
Price Comparison:
| Price Range | Aperture | Best For |
|---|---|---|
| Under $100 | 60-76mm | Moon and bright planets |
| $200-$400 | 90-150mm | Planets and some deep-sky objects |
| $500-$1000 | 150mm+ | Serious planetary and deep-sky viewing |
Portable and Travel Scopes
Compact telescopes fit in backpacks and airplane carry-ons for stargazing away from city lights. Maksutov-Cassegrain designs compress long focal lengths into tubes under 12 inches. These scopes weigh 3-6 pounds without the mount.
Short-tube refractors also pack easily but provide wider fields of view. They excel at scanning the Milky Way and large star clusters. Most portable models accept standard camera tripods.
The trade-off comes in aperture size. Portable scopes typically max out at 90mm, which limits how much light they gather. Faint galaxies and nebulae appear dimmer than through larger home telescopes.
Collapsible Dobsonians solve this problem for car camping trips. The tube separates into sections that fit in a trunk. Once assembled, they deliver 8-inch or larger apertures.
Smart and App-Connected Telescopes
Modern computerized telescopes connect to smartphones via Bluetooth or WiFi. Apps display star maps and guide users to interesting objects visible that night. The telescope moves automatically when a target is selected on screen.
These systems eliminate the learning curve of star hopping and manual coordinates. Beginners see impressive objects within minutes of setup. The apps also provide information about what appears in the eyepiece.
Smart telescopes cost more than manual alternatives with similar aperture. Prices start around $400 for app-connected models. Battery life becomes a consideration during long viewing sessions.
Some models include built-in cameras that capture images without additional equipment. The photos save directly to a smartphone. This feature appeals to beginners interested in astrophotography from the start.
What Celestial Objects You Can Expect to See
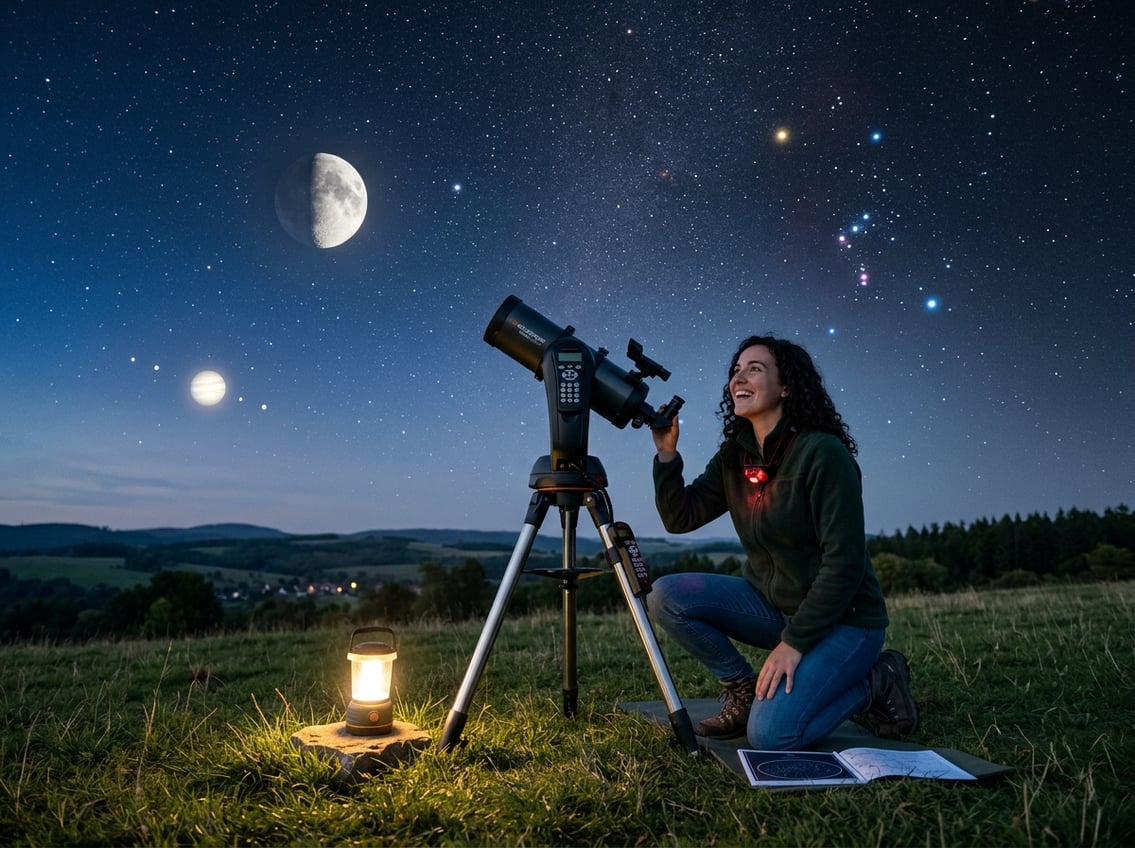
A beginner telescope opens views of the Moon’s craters, bright planets like Jupiter and Saturn, star clusters, and some nebulae. The size of the telescope and local light pollution will determine how much detail appears in the eyepiece.
Viewing the Moon and Planets
The Moon stands out as the easiest target for any beginner telescope. Even small telescopes reveal hundreds of craters, mountain ranges, and dark volcanic plains across the lunar surface. At 100x magnification, observers can spot details as small as 3-4 miles across.
Jupiter and Saturn provide the most rewarding planetary views. A basic telescope shows Jupiter’s cloud bands and its four largest moons. Saturn’s rings become visible even through small and cheap telescopes at 100x magnification.
Mars displays a small orange disk, with surface features visible during its closest approaches to Earth. Venus shows phases like the Moon but no surface details. Beginners can also track Mercury, though it stays close to the horizon.
Typical Views:
- Jupiter: Cloud bands and 4 moons (70mm telescope)
- Saturn: Rings clearly separated from planet (70mm telescope)
- Mars: Polar ice caps during opposition (100mm+ telescope)
Exploring Deep-Sky Objects
Star clusters offer the most satisfying deep-sky targets for beginners. The Pleiades and Hercules Cluster resolve into dozens of individual stars through small telescopes. These objects appear bright enough to view from suburban locations.
Nebulae like the Orion Nebula show cloudy structures even in light-polluted areas. Larger telescopes reveal more intricate details within the gas clouds. The Ring Nebula appears as a small smoke ring at medium magnifications.
Galaxies present more challenges for beginners. The Andromeda Galaxy looks like a fuzzy oval patch through most beginner telescopes. Only the galaxy’s bright central core shows clearly without dark skies. Light pollution significantly reduces the number of visible galaxies and their details.
Seasonal Highlights for Beginners
Winter skies feature the Orion Nebula, visible as a fuzzy patch below Orion’s belt. The Pleiades star cluster sparkles like a tiny dipper in Taurus. These objects stay visible throughout the evening during December through February.
Spring brings views of several galaxies in the Virgo constellation. The Beehive Cluster in Cancer displays dozens of stars in a compact group. Saturn reaches prime viewing positions during spring months.
Summer offers the best views of the Milky Way’s center. The Ring Nebula in Lyra and the Swan Nebula in Sagittarius become accessible targets. Jupiter typically dominates summer evening skies.
Fall provides clear views of the Andromeda Galaxy high overhead. The Double Cluster in Perseus shows two distinct star groups side by side. Neptune and Uranus reach their best positions for observation during autumn months.
Essential Accessories and Maintenance Tips
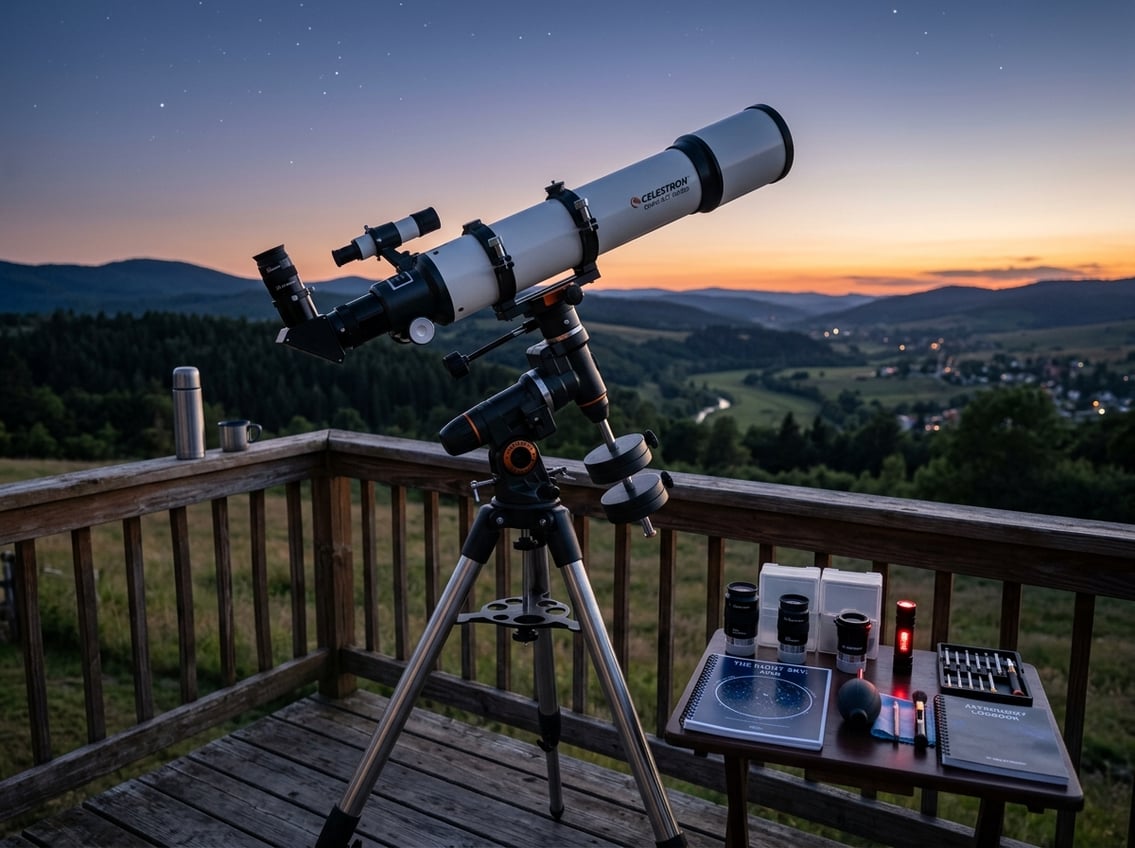
A telescope’s performance depends heavily on quality accessories and proper care. The right eyepieces enhance viewing capabilities, while regular maintenance protects your investment for years of stargazing.
Choosing Eyepieces and Filters
Most telescopes come with one or two basic eyepieces, but adding variety expands what observers can see in the night sky. Plössl eyepieces offer beginners a balanced field of view and sharp images at an affordable price.
A 25mm eyepiece works well for wide views of the Moon and star clusters. A 10mm eyepiece provides higher magnification for planets like Jupiter and Saturn. A 2x Barlow lens doubles magnification without buying additional eyepieces.
Star diagonals make viewing more comfortable when the telescope points high in the sky. They change the viewing angle so observers don’t need to crouch or crane their necks during long sessions.
Solar filters are essential for safe Sun observation. These specialized filters block harmful UV and infrared radiation while revealing sunspots and solar details. Never look at the Sun through a telescope without a proper solar filter — even brief exposure causes permanent eye damage.
Caring for Your Telescope
Regular maintenance keeps optics performing at their best. Dust and fingerprints on lenses reduce image quality, so gentle cleaning is important.
Use a soft brush or compressed air to remove loose dust from lenses and mirrors. For stubborn smudges, apply a small amount of lens cleaning solution to a microfiber cloth and wipe gently in circular motions. Never touch glass surfaces with fingers.
Reflector telescopes need occasional collimation to align their mirrors properly. This adjustment ensures sharp images. A collimation tool makes the process straightforward for beginners.
After each observing session, allow the telescope to reach room temperature before storing it. Sudden temperature changes can cause condensation on optics. Dew shields prevent moisture buildup during humid or cold nights.
Storage Solutions and Portability Concerns
Proper storage protects telescopes from dust, moisture, and accidental damage between observing sessions. Keep the telescope indoors in a dry location away from extreme temperatures.
A padded carrying case shields equipment during transport to dark sky sites. Some cases include compartments for eyepieces and accessories. Store eyepieces in individual pouches or a dedicated case to prevent scratches.
Cover the telescope tube with a dust cap when not in use. Remove batteries from motorized mounts during long-term storage to prevent corrosion. Store tripod legs fully retracted to save space and protect adjustment mechanisms.
For observers who travel frequently, telescope weight and setup time matter. Tabletop Dobsonians and compact refractors pack easily into vehicles. Breaking down the setup into labeled components makes reassembly at observing sites faster and less frustrating.
How to Enhance Your First Observing Experience
Setting up a telescope correctly and connecting with other stargazers transforms frustrating first nights into rewarding experiences. Proper alignment ensures accurate tracking, while documenting observations builds skills faster than equipment upgrades alone.
Aligning and Calibrating Your Telescope
Telescope alignment directly affects how easily beginners can locate celestial objects. Most computerized mounts require a basic alignment procedure that involves pointing at two or three bright stars. The mount uses these reference points to calculate positions for thousands of other objects.
Manual telescopes need different preparation. A finderscope must be aligned with the main telescope during daylight by pointing both at a distant object like a chimney or street sign. The user adjusts the finderscope screws until the crosshairs center on the same object visible through the main eyepiece.
Reflector telescopes also need collimation, which aligns the mirrors for sharp images. New telescopes often arrive properly collimated, but shipping can knock mirrors out of alignment. A collimation tool helps check mirror alignment, though experienced observers can use a bright star to verify optical quality.
Essential alignment steps:
- Level the mount on stable ground
- Point the telescope north before turning on computerized systems
- Use bright stars for initial alignment rather than planets
- Check alignment accuracy by slewing to a known object
Recording and Sharing Observations
Keeping an observation log helps beginners track progress and identify which techniques work best under different conditions. A simple notebook captures date, time, equipment used, atmospheric conditions, and descriptions of what appeared through the eyepiece.
Sketching celestial objects forces more careful observation than casual viewing. Even rough drawings reveal details that might otherwise go unnoticed. Many observers photograph their sketches and share them online, creating a personal astronomy archive.
Modern observers often use astronomy apps that allow digital logging with automatic date stamps and location data. Some apps even overlay constellation maps on phone cameras, making it easier to identify what appears in the eyepiece.
Key details to record:
- Eyepiece focal length and magnification used
- Seeing conditions (steady, turbulent, clear, hazy)
- Object visibility and detail level
- Filters or accessories that improved the view
Joining Astronomy Communities
Local astronomy clubs provide hands-on mentorship that online resources cannot match. Experienced members help beginners troubleshoot equipment issues, recommend observing sites, and share eyepiece collections for testing before purchase.
Star parties organized by clubs give new observers access to various telescope designs. Viewing the same object through different apertures and optical systems helps beginners understand how equipment choices affect results. Many clubs also maintain dark-sky observing sites away from city lights.
Online forums and social media groups offer 24/7 support for questions about equipment setup or object identification. Reddit’s astronomy communities and dedicated telescope forums contain searchable archives of common beginner questions with detailed answers from experienced observers.
Some beginners prefer virtual events like online observing sessions where participants share live views through digitally connected telescopes. These events work well for those without immediate access to dark skies or local clubs.
Related Telescope School Guides
- Best Telescopes Under $200
- Best Telescopes Under $300
- Best Telescopes for Seeing Planets
- Are Smart Telescopes Worth It?
- What Is a Refractor Telescope?
- What Is a Reflector Telescope?
- Equatorial vs Alt-Az Mounts: Which to Choose
- Celestron AstroMaster 70AZ Review
As an engineer who came back to the hobby at 50, I vet beginner scopes on the specs and setup that actually matter — not marketing power claims.
These May Help Too...
Can You Use a Telescope Through a Window? (And Why You Should Not)
Using a telescope through a window ruins the view: bad glass, heat currents and reflections. Here is what actually happens, and what to do instead.
Telescope will not come to focus? The cause is almost always spacing, not optics. Work out whether you ran out racking in or out, then fix that end.