

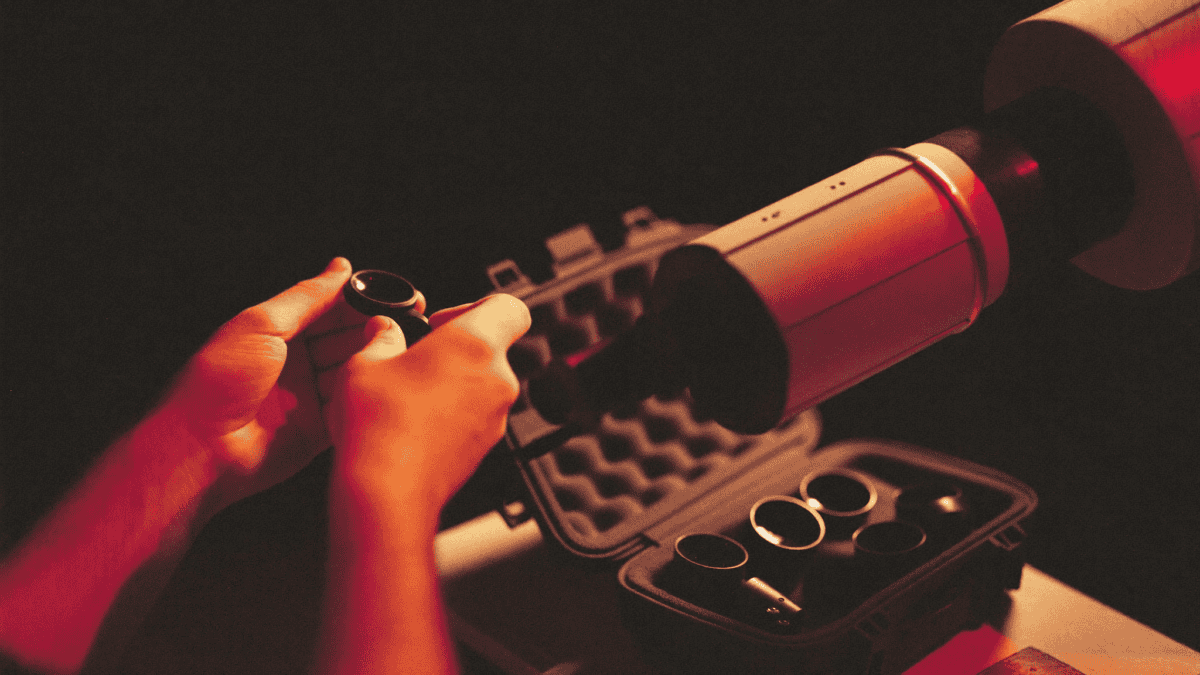
A telescope eyepiece is the small removable lens that sets your magnification and the width of the view — and swapping eyepieces changes what you see far more than most beginners expect. If you own one telescope but three good eyepieces, you effectively own three telescopes. The confusing part is that the numbers work backwards: a smaller millimeter number means more zoom, not less. In this TelescopeSchool guide I’ll walk you through everything that actually matters — the mm number, the magnification formula, field of view, eye relief, exit pupil, barrel sizes, the eyepiece types worth owning, and the three eyepieces I’d tell any beginner to buy first. I’ve spent years observing from Bortle 5–6 suburban skies here in York, PA, and I’ve wasted money on eyepieces so you don’t have to.
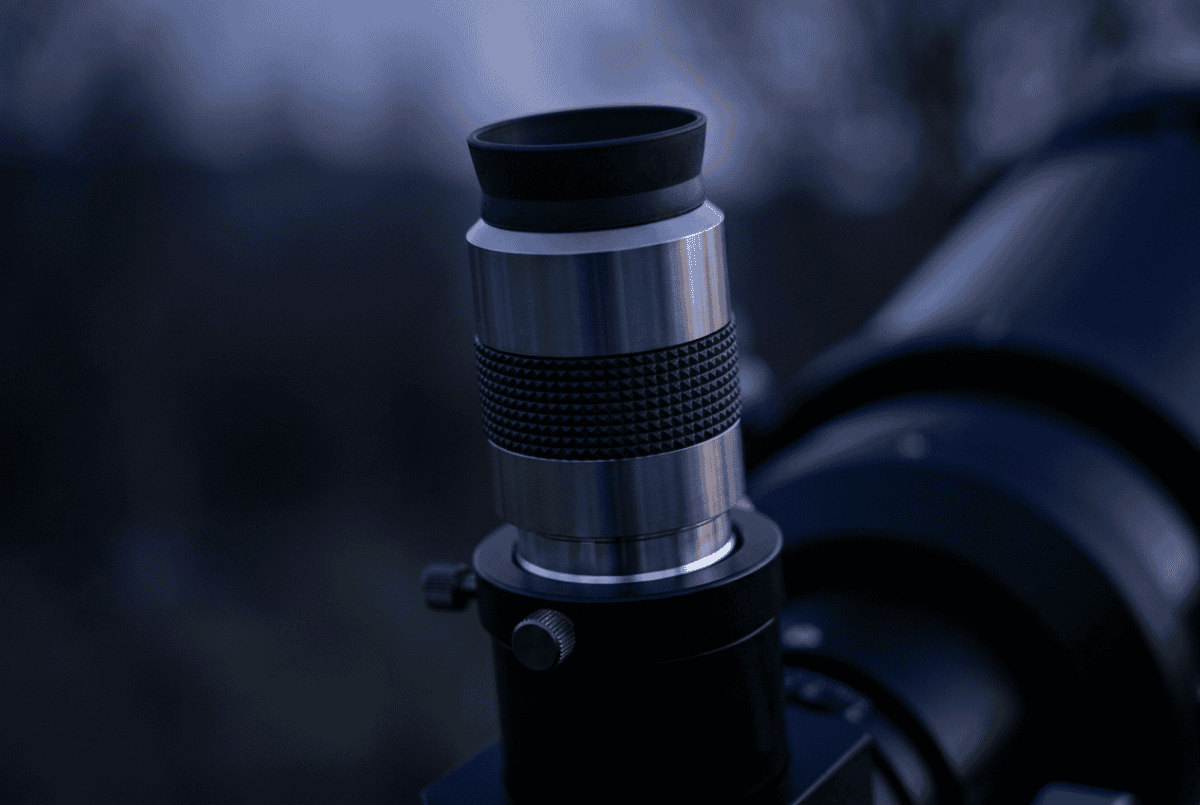
Quick answer: what an eyepiece does and what you need
An eyepiece magnifies the image your telescope forms, and its focal length (printed in millimeters) determines how much. To get started you want three eyepieces covering low, medium, and high power — roughly a 30–32mm, a 15–18mm, and a 6–9mm — plus a 2x Barlow lens that doubles the reach of each one. Good Plössl eyepieces are the best value for a beginner; you do not need a $400 wide-field eyepiece to enjoy the hobby. Spend your money on aperture first and eyepieces second. Everything below explains why.
How eyepieces work: focal length and why shorter means more zoom
The number printed on an eyepiece — 25mm, 10mm, 6mm — is its focal length, and the shorter that number, the higher the magnification. This trips up almost everyone at first, because it feels backwards. Think of it this way: a short-focal-length eyepiece bends light more sharply, which spreads the image out and magnifies it. A 6mm eyepiece zooms in hard; a 32mm gives a low-power, wide view. So the “small number = big zoom” rule is the first thing to burn into memory. If you want the deeper mechanics, I cover it in understanding focal length in telescopes and what the “mm” means on an eyepiece.
The magnification formula (with real examples)
Magnification equals your telescope’s focal length divided by the eyepiece’s focal length. That’s the whole formula: telescope focal length ÷ eyepiece focal length = magnification. If your telescope has a 1000mm focal length (a common beginner spec), a 25mm eyepiece gives 40x and a 10mm gives 100x. Notice the eyepiece is doing all the changing — the telescope’s focal length is fixed. Here’s how a single 1000mm scope behaves across a typical eyepiece set:
| Eyepiece focal length | Magnification (on a 1000mm scope) | Typical use |
|---|---|---|
| 32mm | 31x | Wide views, finding objects, large star clusters |
| 25mm | 40x | General low power, big deep-sky objects |
| 15mm | 67x | Everyday medium power |
| 10mm | 100x | Planets, the Moon, smaller objects |
| 6mm | 167x | High-power planetary and lunar detail |
Add a 2x Barlow and every one of those numbers doubles. For more on where the picture starts to fall apart, see my telescope magnification guide.
Maximum useful magnification: why “675x!” on the box is a lie
There’s a hard ceiling on useful magnification, and it’s set by your telescope’s aperture, not by the eyepiece. The rule of thumb is about 50x per inch of aperture, or roughly 2x the aperture in millimeters. A 130mm (5-inch) scope tops out around 260x; a 6-inch around 300x. Push past that and the image just gets bigger, dimmer, and mushier — you’re magnifying blur. Worse, the atmosphere usually stops you first: on an average night, unsteady air (“seeing”) limits most backyards to 150–200x no matter how good your gear is. So when a department-store box screams “675x!” on a tiny 60mm tube, that’s a marketing lie — that scope can’t usefully do a fifth of it. I explain the ceiling in the 50x rule for telescopes.
Field of view: apparent vs true (and why wide feels like a spacewalk)
Field of view comes in two flavors, and both matter. Apparent field of view (AFOV) is how wide the eyepiece’s own window feels — measured in degrees, it’s a fixed property of the eyepiece design. A basic Plössl shows about 50°; a premium wide-field like a Nagler shows 82°; an Ethos reaches 100°+. Looking through a wide-field eyepiece genuinely feels like floating in space, because the field edge is out past your peripheral vision. True field of view (TFOV) is how much actual sky you see, and it’s roughly AFOV divided by magnification. So a wide eyepiece at the same power shows you more sky — which is why finding objects is easier with a wide 32mm than a narrow one. For a beginner, a wide view is a real convenience, but it’s a luxury, not a necessity.
Eye relief: the spec that matters most if you wear glasses
From experience: the spec beginners most misunderstand is eye relief. People assume a longer number means a wider view — it does not. It only tells you how far your eye can sit from the lens and still take in the whole field, which is what really matters if you wear glasses.
Eye relief is how far your eye can sit from the eyepiece and still see the whole field, and if you wear glasses it’s the single most important number. You want around 15–20mm of eye relief to comfortably keep your glasses on. The catch: cheap short-focal-length Plössls (the 6mm and 8mm especially) often have painfully tight eye relief — you have to mash your eyeball against the glass, and glasses are impossible. This is exactly where spending a little more pays off, because better designs give you long eye relief even at high power. If you’re nearsighted or farsighted but not astigmatic, you can usually observe without glasses and just refocus; if you have astigmatism, keep the glasses and buy long-eye-relief eyepieces.
Exit pupil: matching the eyepiece to your eye and your target
Exit pupil is the width of the light beam leaving the eyepiece, and it decides whether you’re using all the light your telescope gathers. You can find it two ways: aperture in mm divided by magnification, or eyepiece focal length divided by the telescope’s f-number. A dark-adapted adult pupil opens to about 5–7mm (less as you age), so an exit pupil bigger than that just spills light past your eye and wastes it — that’s why a giant 40mm eyepiece on a fast scope can actually look worse. In practice, a 2–3mm exit pupil is a sweet spot for most deep-sky viewing, while planets and the Moon shine at a tight 0.5–1mm. You don’t need to calculate this every night, but it explains why your lowest-power eyepiece sometimes disappoints.
1.25-inch vs 2-inch barrels (and the 0.965-inch to avoid)
Eyepieces come in two standard barrel diameters, and most beginners only need one. The 1.25-inch (31.75mm) barrel is the universal standard — nearly every eyepiece and every modern telescope focuser uses it. The 2-inch (50.8mm) barrel exists for long-focal-length, wide-field eyepieces that need a physically bigger lens to deliver those sweeping low-power views; it’s an upgrade path, not a starting point. Steer clear of anything with a 0.965-inch (24.5mm) barrel — that’s an obsolete size found only on old and toy-grade telescopes, and it’s a red flag that the whole scope is junk.
Eyepiece types compared: Kellner, Plössl, Orthoscopic, and premium wide-fields
Eyepiece “type” refers to the internal lens design, and it drives price, field width, and sharpness. You don’t need to memorize the optics — you just need to know which offers the best value. Here’s the honest ranking for a beginner:
| Type | Apparent field | Eye relief | Rough cost | Best for |
|---|---|---|---|---|
| Huygens / Ramsden | ~30–40° | Poor | Bundled junk | Nothing — toss the ones that came free |
| Kellner | ~40–50° | Modest | $ | Budget upgrade over kit glass |
| Plössl | ~50° | OK (tight at short mm) | $$ | The beginner value champion |
| Orthoscopic | ~40–45° | Tight | $$ | Sharp, high-contrast planetary views |
| Premium wide-field (Nagler, ES, Ethos) | 68–110° | Long | $$$–$$$$ | Immersive views, glasses-wearers — a later luxury |
My take after years at the eyepiece: a good Plössl set gives a beginner 90% of the experience for a fraction of the cost. Orthoscopics are a treat for planets. The premium wide-fields are wonderful and worth it eventually — but not before you’ve spent on aperture.
Barlow lenses: doubling your kit without doubling your spend
A Barlow lens sits between your eyepiece and telescope and multiplies magnification, usually by 2x (sometimes 3x). Drop a 2x Barlow in front of your 25mm and it behaves like a 12.5mm; in front of your 10mm, like a 5mm. That means one good Barlow effectively doubles your whole eyepiece set for the price of a single eyepiece — a genuinely smart first purchase. The one rule: buy a quality Barlow, because a cheap one smears everything you’ve paid for. I go deeper in what a Barlow lens does, round up options in the best Barlow lenses, and cover the honest downsides in drawbacks of Barlow use.
The beginner starter set: which three eyepieces to actually buy
If you buy three eyepieces and one Barlow, you’ll cover everything a beginner does for years. Here’s the set I recommend, framed by the job each one does rather than an exact millimeter (match the exact number to your scope’s focal length):
- Low power — around 30–32mm: your finder and wide-field eyepiece for sweeping star fields and large clusters. This is the one you’ll start every session with.
- Medium power — around 15–18mm: the everyday workhorse for the Moon, brighter deep-sky, and general viewing.
- High power — around 6–9mm: for planets and lunar detail on steady nights. Prioritize eye relief here.
- A 2x Barlow: doubles all three above, giving you six magnifications from four purchases.
Good Plössl eyepiece sets and a solid 2x Barlow lens cover this without breaking the bank.
Should you replace the eyepieces that came with your telescope? Not right away. Most scopes ship with a 25mm and a 10mm Plössl, and those are perfectly fine to learn on. Use them for a few months, notice which magnifications you reach for most, then upgrade deliberately — usually a better high-power eyepiece and a wider low-power one. Buying blind before you know your own observing habits is how eyepieces pile up unused in a drawer. If you’re still choosing a scope, start with my best telescope for beginners guide.
Frequently asked questions
What eyepieces should a beginner buy first?
Start with three: a low-power eyepiece around 30–32mm for finding objects and wide views, a medium around 15–18mm for general use, and a high-power around 6–9mm for planets, plus a 2x Barlow lens. Good Plössls cover all of this affordably.
How do I calculate the magnification of an eyepiece?
Divide your telescope’s focal length by the eyepiece’s focal length. For example, a 1000mm telescope with a 10mm eyepiece gives 100x magnification (1000 ÷ 10 = 100).
Does a smaller mm eyepiece mean more zoom?
Yes. A shorter focal length gives higher magnification, but the view also becomes dimmer, narrower, and harder to hold steady, so the highest-power eyepiece isn’t always the best one to use.
What’s the difference between a 1.25-inch and 2-inch eyepiece?
The 1.25-inch barrel is the universal standard that fits almost every telescope and eyepiece, while the larger 2-inch barrel is used only for long-focal-length wide-field eyepieces that need a bigger lens for sweeping low-power views.
Are expensive eyepieces like Nagler or Ethos worth it?
They deliver wider, sharper, more immersive views and long eye relief, but a good Plössl or a modest wide-field is more than enough for a beginner. Spend on aperture and a quality Barlow first, then upgrade eyepieces later.
Do I need to replace the eyepieces that came with my telescope?
Not at first. The kit 25mm and 10mm eyepieces are fine to learn on. Observe for a few months, see which magnifications you use most, then upgrade those specific eyepieces deliberately rather than all at once.
The bottom line
Eyepieces are the cheapest way to transform what your telescope shows you, and understanding a few simple ideas — shorter mm means more zoom, magnification is just focal length divided by eyepiece, and aperture sets the useful ceiling — puts you ahead of most beginners. Buy a low, medium, and high-power Plössl plus a good 2x Barlow, keep your glasses in mind for eye relief, and resist the urge to chase magnification numbers on a box. Do that and you’ll spend your nights actually observing instead of fiddling. Explore more beginner guides here at TelescopeSchool, and clear skies.
I’m Will Montgomery, an engineer who returned to astronomy at 50 and observes from Bortle 5-6 suburban skies near York, Pennsylvania. After years of swapping eyepieces on real nights, I explain the specs that actually change what you see.
These May Help Too...
Can You Use a Telescope Through a Window? (And Why You Should Not)
Using a telescope through a window ruins the view: bad glass, heat currents and reflections. Here is what actually happens, and what to do instead.
Telescope will not come to focus? The cause is almost always spacing, not optics. Work out whether you ran out racking in or out, then fix that end.