
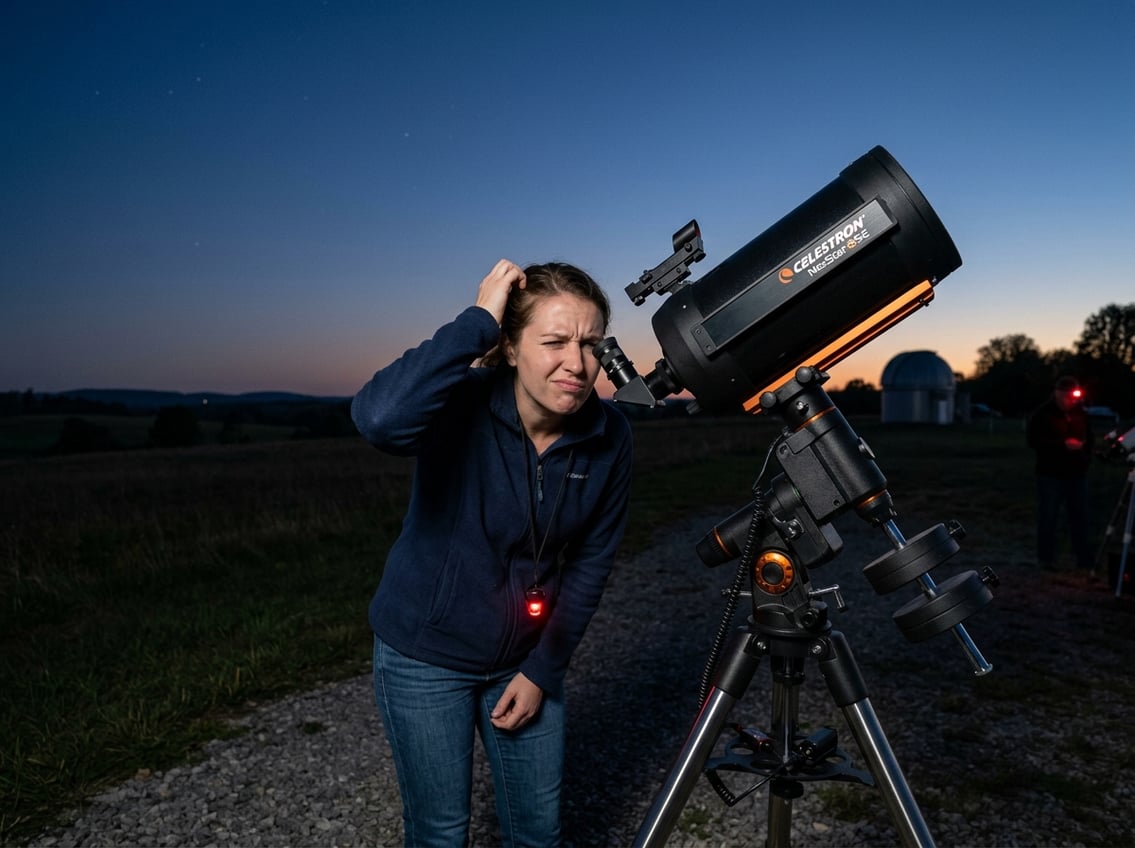
You set up your new telescope on a clear night, point it at the sky, and look through the eyepiece only to see complete darkness. This frustrating experience happens to many beginners and even experienced stargazers. The most common reasons you can’t see anything through your telescope include removed dust caps still covering the optics, an out-of-focus image, misaligned finder scope, dirty or damaged lenses, or attempting to observe from a location with too much light pollution.
Most telescope viewing problems have simple solutions that take just a few minutes to fix. The issue rarely stems from a defective telescope. Instead, problems usually come from basic setup mistakes or environmental factors that block the view.
This guide walks through the essential equipment checks, optical adjustments, and atmospheric considerations that affect telescope performance. It covers everything from aligning your finder scope to dealing with dew on your lenses, helping both new and experienced astronomers get clear views of the night sky.
Last Updated: May 2026 | Will Montgomery is an amateur astronomer who has personally troubleshot countless telescope viewing issues and knows exactly what beginners get wrong.
Essential Equipment Checks
From experience: My biggest problem turned out to be damaged eyepieces — possibly distorted right out of the box. Back then there was no Amazon, and mall retailers didn’t stock replacements. As a preteen I just assumed I was doing something wrong. It wasn’t until I brought the scope out again as an adult that my engineering background clicked in: ‘Wait, I set this up correctly — it’s a refractor — those lenses must just be bad.’
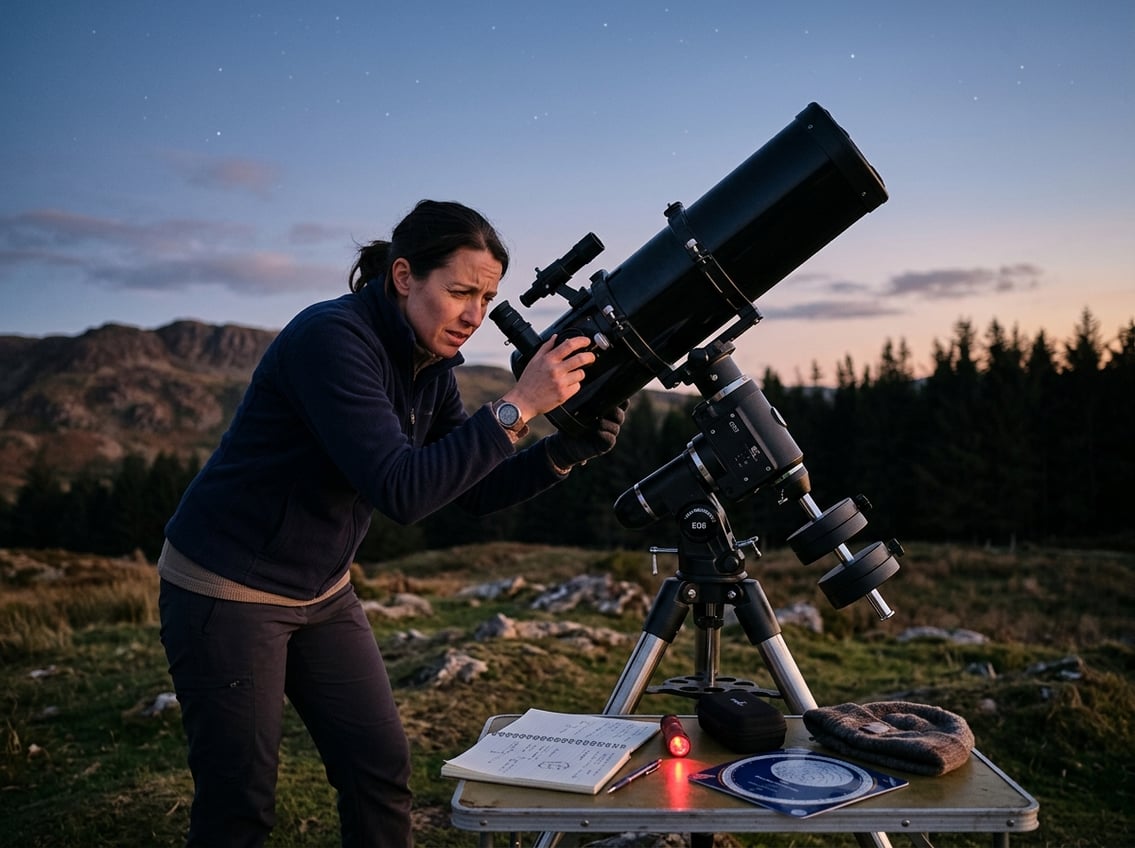
Before attempting complex troubleshooting, telescope users should verify that basic equipment components are properly configured. Many viewing problems stem from simple oversights that take just seconds to correct.
Verify Lens and Mirror Caps
The most common reason people can’t see anything through their telescope is forgetting to remove dust covers. Even experienced astronomers make this mistake in their excitement to start observing.
Telescopes typically have caps on both ends. The main optical tube has a large cap protecting the primary lens or mirror. The eyepiece end may also have a smaller protective cover.
Users should check both ends before starting their observation session. Some telescope models include dust covers that aren’t immediately obvious, particularly on Schmidt-Cassegrain designs where a secondary mirror cover sits in front of the corrector plate.
In astrophotography setups, observers sometimes leave focusing tools like Bahtinov masks attached after achieving focus. These masks block most incoming light and make viewing impossible.
Inspect Eyepiece Seating
The eyepiece must be properly inserted into the focuser for the telescope to work. Looking into an empty focuser tube produces no image at all.
The eyepiece should slide fully into the focuser drawtube until it seats firmly. Most focusers have thumb screws or compression rings that secure the eyepiece in place. These fasteners need to be tightened enough to prevent the eyepiece from slipping but not so tight that they damage the barrel.
A loose eyepiece shifts position during focusing attempts, making it impossible to achieve a sharp image. Users should gently tug on the eyepiece after tightening to confirm it’s secure.
Eyepieces come in two standard barrel sizes: 1.25 inches and 2 inches. The eyepiece diameter must match the focuser size or use an appropriate adapter.
Assess Telescope Assembly
Complete telescope assembly requires more than just attaching the optical tube to the mount. The focuser mechanism itself needs proper setup before use.
The focuser drawtube may be fully retracted or extended when the telescope arrives. This extreme position places the focal point far outside the range where any object can appear sharp. Users should adjust the focus knobs while pointing at a bright target like the moon to find the focus range.
Newtonian reflector telescopes require collimation to align the mirrors correctly. Severely misaligned mirrors prevent any light from reaching the eyepiece, resulting in a completely black view even when pointed at bright objects.
The finderscope must be aligned with the main telescope. An unaligned finder makes locating celestial objects nearly impossible, especially for beginners.
Understanding Finder Scope Alignment
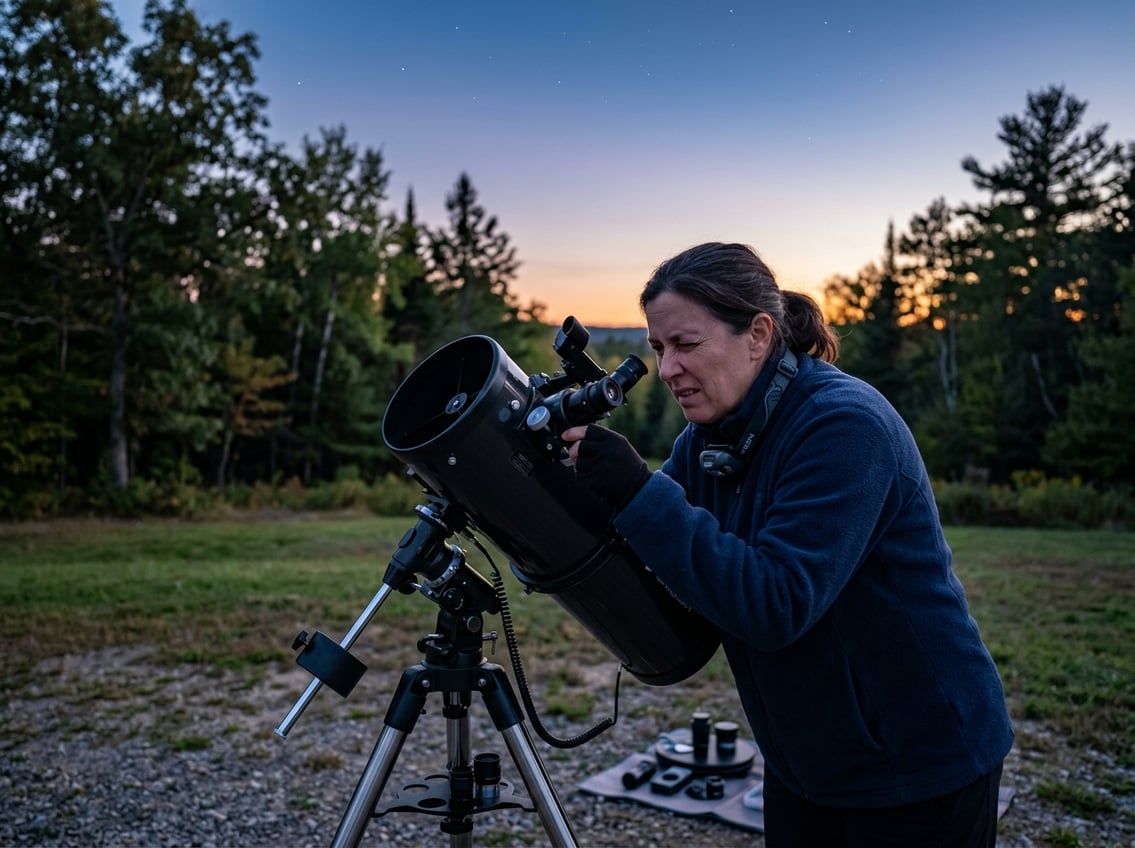
The finder scope helps locate objects in the night sky before viewing them through the main telescope. Proper alignment between the finder scope and telescope ensures that what appears centered in the finder will also appear in the eyepiece.
Aligning Finder Scope During Daylight
Daytime alignment is the easiest method for setting up a finder scope correctly. The user should set up the telescope outside and aim it at a distant stationary object like a telephone pole top, street sign, or license plate several hundred yards away.
The lowest power eyepiece (the one with the highest focal length number) should be inserted into the telescope first. After centering the target in the main telescope’s field of view, the user can adjust the finder scope without moving the telescope itself.
For optical crosshair finders, the user adjusts the three thumbscrews on the finder bracket until the crosshairs center on the same target visible through the eyepiece. Red dot finders require positioning the eye 6-12 inches behind the device and turning the adjustment knobs until the red LED centers on the target.
Double-checking alignment with a second distant object confirms accuracy before nighttime use.
Common Finder Scope Mistakes
The most frequent error is moving the telescope while adjusting the finder scope. This disrupts the alignment process since the main telescope must remain pointed at the target while only the finder moves.
Another mistake involves skipping the verification step with a second object. Testing alignment on just one target may give false confidence that the finder is properly calibrated.
Users often forget that transporting telescopes can shift finder scope alignment. The alignment should be checked again after moving equipment, especially with optical finders that use thumbscrews and spring-loaded supports.
Attempting to align at night makes the process unnecessarily difficult. Daytime alignment with clear terrestrial targets provides much better results than trying to use dim stars as reference points.
Focusing and Magnification Issues
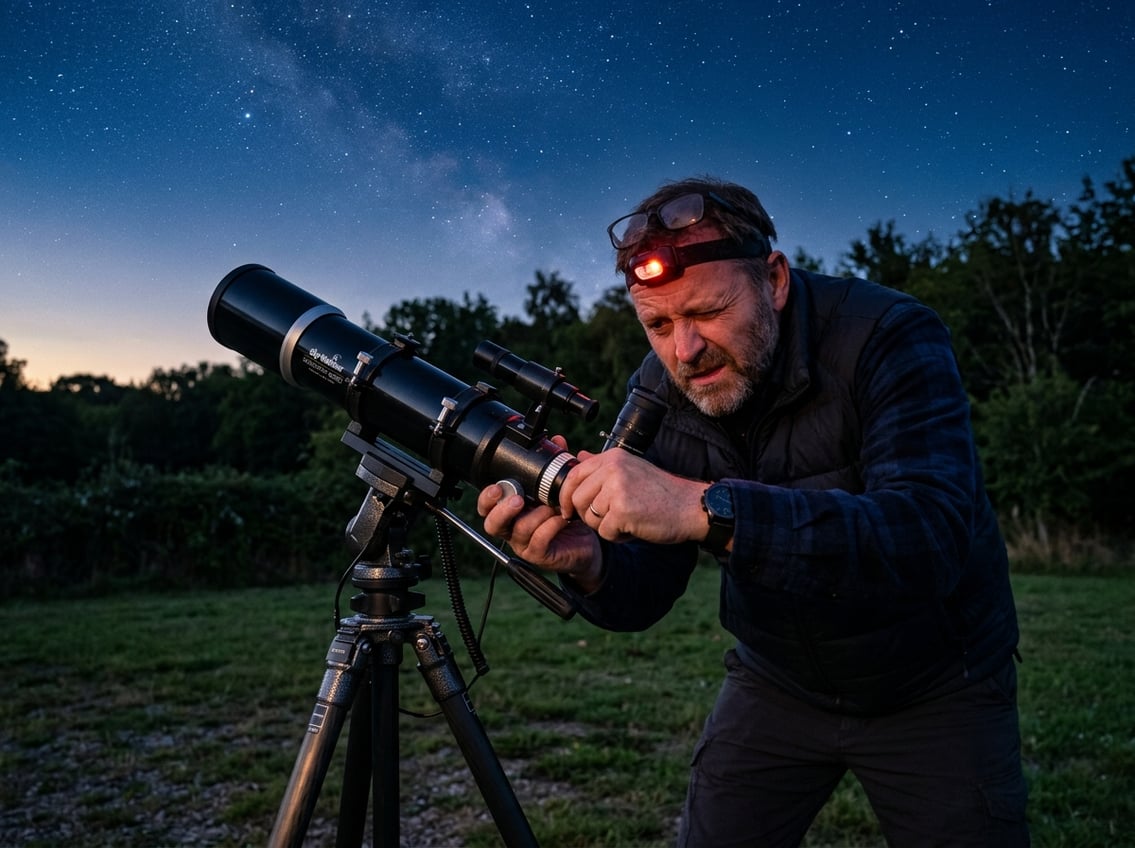
Getting a clear view through a telescope depends on proper focus and using the right amount of magnification. Starting with too much power or failing to focus correctly makes everything appear blurry or impossible to see.
How to Achieve Proper Focus
Always start with the lowest power eyepiece, which has the highest number printed on it in millimeters. A 20mm eyepiece provides much lower magnification than a 4mm eyepiece. This makes focusing easier and provides a wider field of view.
Users should place their eye just behind the eyepiece, not pressed directly against the lens. They need to turn the focus knobs slowly in one direction, then the other, until the object becomes sharp.
Refractor telescopes require a star diagonal between the eyepiece and telescope to achieve focus. Without this diagonal, the telescope won’t be able to focus properly. The diagonal brings the eyepiece into the proper focusing range.
Choosing the Right Eyepiece
Switching from a high-power to a lower-power eyepiece often solves blurry views. Someone struggling with a 4mm eyepiece should try a 20mm instead.
Eyepiece power guidelines:
- Low power (20mm-25mm): Best for starting observations and finding objects
- Medium power (10mm-15mm): Good for general viewing of planets and moon details
- High power (4mm-8mm): Only use under stable atmospheric conditions
Planets appear as small dots with low-power eyepieces because they are far away. To see more detail on planetary surfaces, users need shorter focal length eyepieces that provide higher magnification.
Risks of Excessive Magnification
Many telescope sellers advertise extremely high magnifications that create problems. Higher magnification reduces the field of view and makes images darker. The view becomes harder to focus and more sensitive to atmospheric conditions.
Earth’s atmosphere causes blurriness through heat waves and high-altitude winds. These create temperature differences that act like weak lenses, interfering with light from stars and planets. High-power eyepieces make this atmospheric distortion much worse.
When everything remains blurry no matter how much someone adjusts the focuser, they are probably using too much magnification. Starting with low magnification and working up slowly prevents this issue.
Collimation and Optical Maintenance
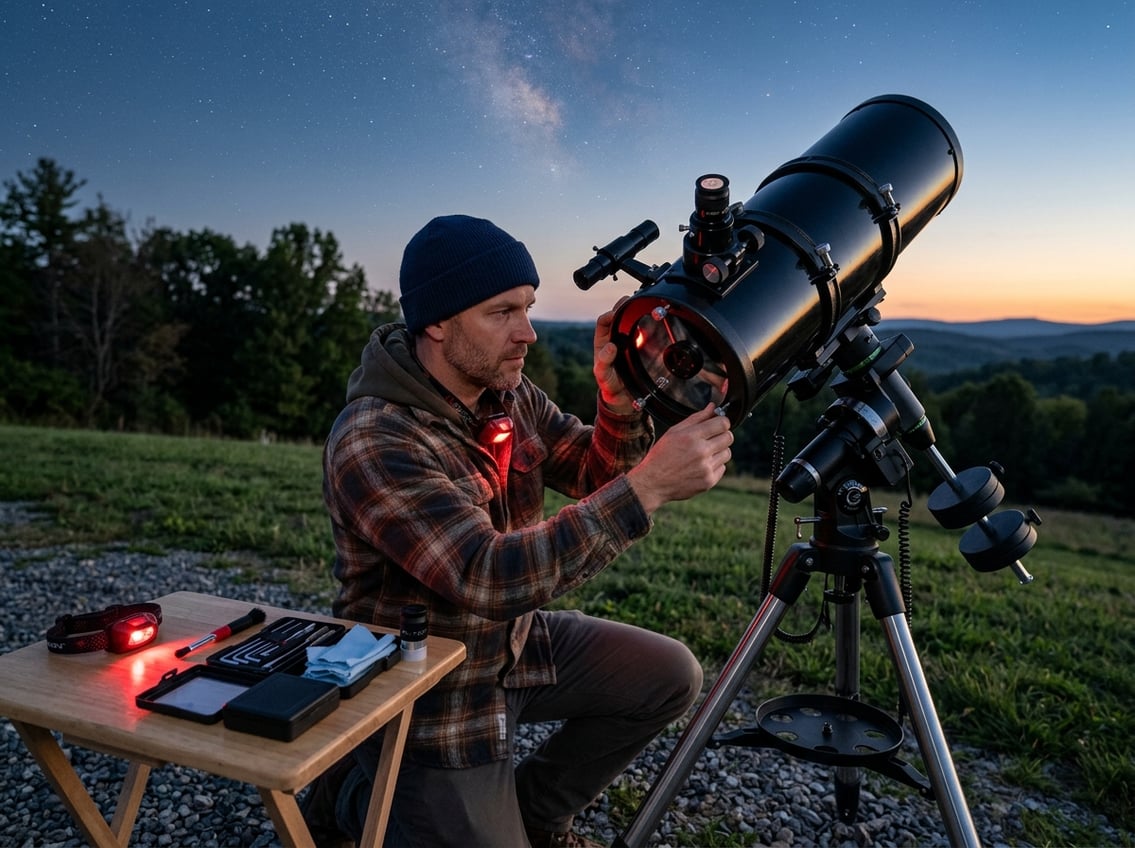
Reflector telescopes need regular collimation to align their mirrors, while refractors rarely require this adjustment. Keeping optics clean prevents image quality problems that can make viewing impossible.
Collimation for Reflector Telescopes
A telescope with mirrors inside needs collimation to work properly. The mirrors must point in the exact right direction to focus light correctly into the eyepiece.
Newtonian reflector telescopes have both primary and secondary mirrors that can shift out of alignment. When mirrors are slightly misaligned, objects appear blurry or out of focus. When mirrors are badly misaligned, the eyepiece shows only darkness even when pointed at bright objects like the moon.
Users can test collimation by pointing at a bright star and defocusing slightly. A properly collimated telescope shows a perfect doughnut shape. A lopsided or comet-shaped pattern means the telescope needs adjustment.
Special tools help with collimation. A laser collimator projects a beam to check mirror alignment. A Cheshire eyepiece uses reflected light to verify positioning. Both tools make the process faster and more accurate than visual methods alone.
The collimation process involves adjusting screws on the mirror cells. Small turns of these screws move the mirrors into the correct position. Beginners should practice during the day on terrestrial objects before attempting nighttime adjustments.
Differences With Refractor Telescope Care
A refractor telescope uses lenses instead of mirrors. These telescopes almost never need collimation because their lenses are permanently fixed in place at the factory.
Refractor owners face different maintenance tasks. The sealed optical tube protects lenses from dust and moisture better than open reflector designs. This design means less frequent cleaning but makes internal repairs more difficult.
Temperature changes still affect refractor telescopes. The lenses need time to adjust to outdoor temperatures to prevent condensation. Taking the telescope outside 30 minutes before observing prevents dew from forming on the glass surfaces.
The focuser on a refractor telescope requires occasional lubrication. Smooth focus adjustments depend on clean, well-maintained mechanical parts. Users should check that focus knobs turn easily without resistance or wobbling.
Cleaning Lenses and Mirrors
Dirty optics block light and create fuzzy images. Dust, fingerprints, and moisture all reduce what viewers can see through the telescope.
For cleaning telescope optics:
- Use only soft lens cleaning cloths or microfiber materials
- Never touch optical surfaces with bare fingers
- Blow away loose dust before wiping
- Use distilled water or approved optical cleaning solutions
- Work in gentle circular motions from center to edge
Dew formation happens when temperature differences exist between the telescope and outside air. Condensation dramatically reduces image clarity. Users should let telescopes cool down for at least one hour before observing.
Dew heaters prevent moisture buildup during extended viewing sessions. These devices wrap around the optical tube and maintain a temperature slightly above the dew point. Astrophotographers rely on dew heaters during long exposure sessions.
Mirror coatings are delicate and scratch easily. Users should clean mirrors only when absolutely necessary. A small amount of dust causes less harm than aggressive cleaning that damages the reflective coating.
Impact of Light Pollution and Glare
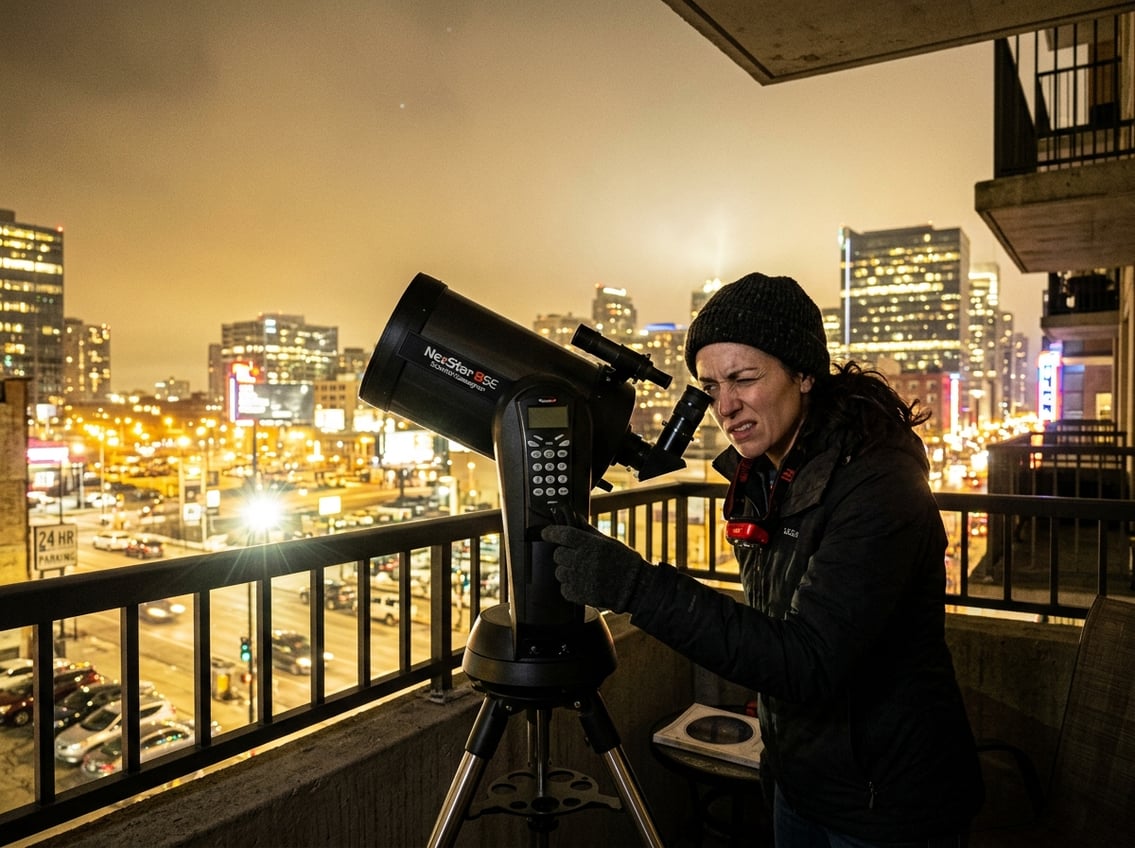
Artificial light from cities and nearby sources creates major obstacles for telescope users trying to observe celestial objects. Light pollution brightens the night sky and reduces contrast, while direct glare interferes with vision and prevents eyes from adapting to darkness.
How Light Pollution Affects Visibility
Light pollution manifests in several forms that impact telescope observations. Skyglow is the brightening of the night sky caused by artificial light scattered in the atmosphere. This type affects amateur astronomers most severely because it washes out faint stars and deep-sky objects.
Ground light pollution, or glare, comes from immediate surroundings like street lights and building illumination. Light trespass occurs when artificial light spills into unwanted areas. All these forms reduce the visibility of celestial objects through telescopes.
Air pollution and weather conditions make the problem worse. Clouds over cities can increase sky brightness by up to 1000 times compared to clear nights. Aerosols, dust, and moisture in the atmosphere scatter artificial light more effectively, creating larger and brighter light domes that extend over 200 miles from their source.
Even the best telescopes cannot completely eliminate the effects of light pollution, though certain filters and techniques help improve visibility.
Minimizing Glare for Clearer Images
Direct glare from nearby light fixtures creates immediate problems for telescope users. It affects night vision by preventing eyes from fully adapting to darkness and reaching maximum sensitivity. A person needs 20 to 30 minutes in darkness to achieve proper dark adaptation, but a single bright light can reset this process instantly.
Positioning the telescope away from direct light sources helps reduce glare impact. Using a shield or barrier between the observing area and nearby lights blocks unwanted illumination. Some observers use red lights for equipment adjustments because red wavelengths preserve night vision better than white light.
Physical barriers like trees, buildings, or temporary screens can block ground-level light pollution. Observers should also avoid using phones or other bright devices during observation sessions, as these emit light that can be detrimental to telescope views.
Adapting to Atmospheric Conditions
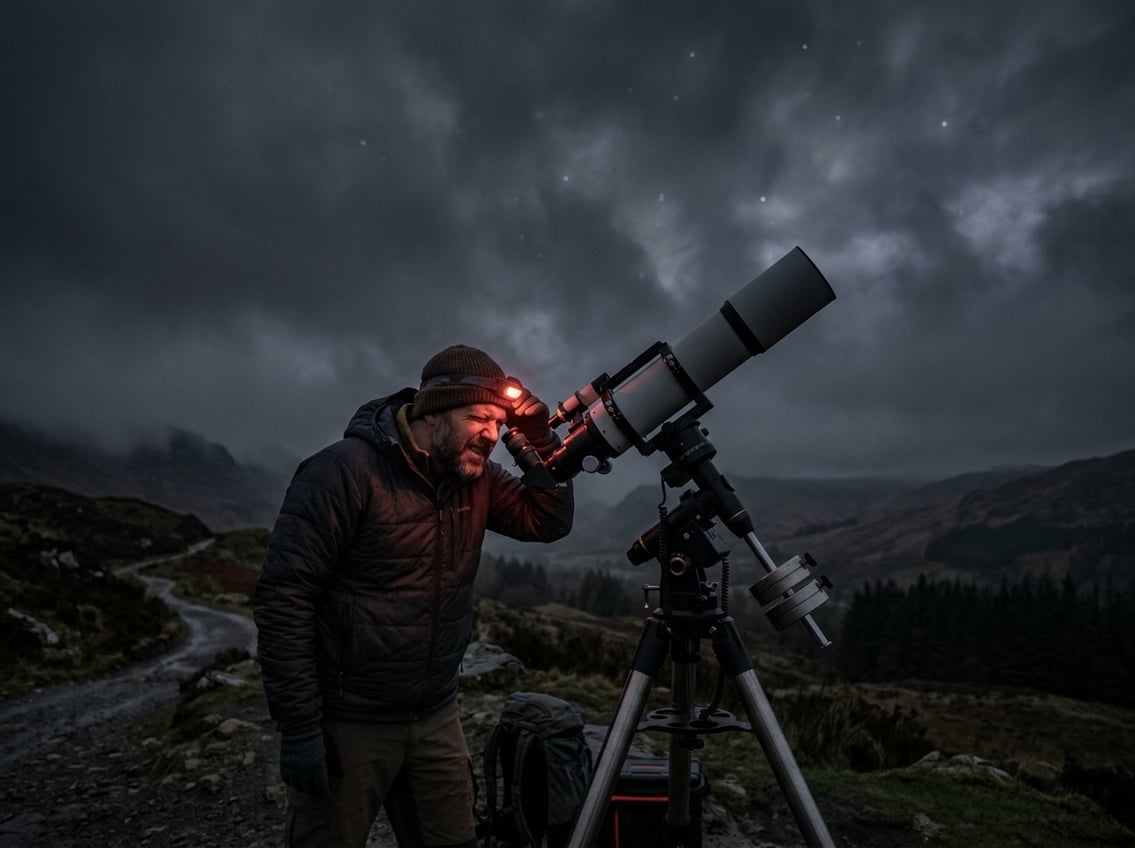
The Earth’s atmosphere creates constant challenges for telescope users, but understanding when and how these conditions affect viewing helps observers plan successful stargazing sessions. Temperature changes, air movement, and moisture all combine to determine image quality on any given night.
Understanding Atmospheric Turbulence
Atmospheric turbulence occurs when different air layers move at varying speeds and temperatures, causing light from celestial objects to bend and shift as it passes through. This creates the twinkling effect visible to the naked eye and causes blurring or wavering images when looking through a telescope.
Atmospheric conditions affect telescope viewing through a property called “seeing,” which describes how steady the atmosphere is at a specific time. Poor seeing conditions make stars appear to shimmer and jump around in the eyepiece, especially at high magnifications.
Factors that worsen atmospheric turbulence include:
- Rapid temperature changes between ground and upper air
- Wind currents moving across different terrain
- Heat radiating from buildings, roads, or the telescope itself
- Jet streams in the upper atmosphere
Observers can minimize turbulence effects by allowing their telescope to reach the same temperature as the outside air before viewing. The atmosphere tends to be more stable at higher altitudes where there is less air to look through.
Best Times for Stargazing
The timing of observation sessions significantly impacts what observers can see through their telescopes. Early morning hours, typically between 2 AM and dawn, often provide the most stable atmospheric conditions because the ground has cooled and temperature differences decrease.
Calm nights with little to no wind produce better viewing conditions than windy evenings. The atmosphere itself begins to vibrate at high magnifications, causing fine details to disappear during unstable conditions.
Ideal stargazing conditions include:
- Clear skies with minimal cloud cover
- Low humidity levels
- Steady temperatures throughout the evening
- Minimal wind
Winter months frequently offer superior atmospheric conditions compared to summer, despite the cold temperatures. The air contains less moisture and heat turbulence during colder seasons, resulting in sharper views of planets and deep-sky objects.
Practical Viewing Techniques and Troubleshooting
Successfully observing celestial objects requires more than just pointing a telescope at the sky. Learning how your eyes work in darkness and using specialized viewing methods can reveal objects that might otherwise remain invisible.
Averted Vision for Faint Objects
Averted vision is a technique astronomers use to see dim objects that disappear when looked at directly. The center of the human eye contains fewer light-sensitive rod cells than the surrounding areas. When an observer looks slightly to the side of a faint star or galaxy, the light falls on the more sensitive outer parts of the retina.
To practice this method, locate a faint object in the telescope’s field of view. Instead of staring directly at it, look about 10 to 20 degrees to the side. The object should appear brighter and show more detail. This works especially well for viewing dim galaxies and nebulae that barely register with direct vision.
Some observers find it helpful to move their gaze in a slow circle around the target rather than holding it fixed in one position. The technique takes practice but becomes natural with regular use.
Dark Adaptation for Better Observation
The human eye needs time to become fully sensitive to dim light. This process, called dark adaptation, takes about 20 to 30 minutes to complete. The pupil expands and chemical changes occur in the retina that boost sensitivity to low light levels.
White light immediately destroys dark adaptation and forces the eye to start over. Astronomers protect their night vision by using red lights when reading star charts or adjusting telescope equipment. Red light has minimal impact on the adapted eye.
Staying away from smartphones, flashlights, and other bright sources before and during observation sessions keeps the eyes at peak sensitivity. Even a few seconds of exposure to bright light can set back the adaptation process by several minutes.
Observing Planets and Exoplanets
Planets appear smaller and dimmer than expected through most amateur telescopes, while exoplanets remain completely invisible to backyard observers due to their extreme distance and faintness.
Managing Expectations With Planetary Views
Amateur telescopes show planets as small objects rather than the detailed images seen in professional photographs. Jupiter appears as a bright disk with visible cloud bands and its four largest moons. Saturn’s rings become clear at magnifications above 50x.
Mars looks like a small reddish dot during most of the year. It only shows surface details during close approaches to Earth every two years.
Venus appears as a bright crescent or gibbous shape depending on its position relative to Earth. Mercury stays too close to the Sun and too small for most observers to see much detail.
Planetary viewing requires proper timing and location to see anything worthwhile. Planets need to be above the horizon and away from city lights. The atmosphere affects image quality significantly, causing planets to shimmer and blur.
Observers need magnifications between 50x and 200x for planetary viewing. Higher magnifications make planets larger but often reduce image sharpness.
Challenges of Spotting Exoplanets
Exoplanets cannot be seen through amateur telescopes regardless of size or quality. These planets orbit stars outside our solar system and sit trillions of miles away from Earth.
Professional observatories detect exoplanets through indirect methods rather than direct viewing. They measure tiny dips in starlight when a planet passes in front of its host star. They also track the wobble of stars caused by orbiting planets.
The brightness difference between a star and its planets makes direct observation nearly impossible. A star outshines its planets by millions or billions of times. Even the largest research telescopes struggle to image exoplanets directly.
Only specialized space telescopes with advanced technology can capture direct images of a few large exoplanets. These planets orbit far from their bright host stars, making them slightly easier to detect.
Amateur astronomers contribute to exoplanet research by monitoring star brightness changes, but they never actually see the planets themselves through their telescopes.
I’ve had the why-is-it-all-black night myself, so I walk through the fixes in the order I’d actually check them.
These May Help Too...
Can You Use a Telescope Through a Window? (And Why You Should Not)
Using a telescope through a window ruins the view: bad glass, heat currents and reflections. Here is what actually happens, and what to do instead.
Telescope will not come to focus? The cause is almost always spacing, not optics. Work out whether you ran out racking in or out, then fix that end.