
Entering the world of amateur astronomy can be a thrilling experience, as the universe opens up before your very eyes. With so many stars to observe, it’s essential for beginners to have a method that easily guides them through the night sky. One popular and accessible way to do this is by star hopping. It’s a technique that allows novices and experienced stargazers alike to navigate the cosmos, connecting the dots between stars like stepping stones to an infinite cosmic landscape.
Star hopping is a straightforward process involving minimal equipment. All you need are your eyes. The technique relies on identifying patterns as landmarks in the sky, then allowing progressive movement from one object to another. Binoculars and telescopes reveal more targets for star hopping.
To get started with star hopping, it is crucial to become familiar with the essential constellations and their brightest stars. A helpful tip for beginners is to identify prominent patterns such as the Big Dipper and Orion’s Belt, which can then be used as reliable celestial guides.
Once you’ve mastered recognizing these fundamental landmarks, moving to less apparent constellations will become second nature, and the best way to star hop is right at your fingertips. So grab a telescope or binoculars, locate a dark sky, and let the stars guide your exploration into the cosmos!
Understanding the Night Sky
Constellations and Asterisms
The night sky is filled with constellations and asterisms, which are helpful for those new to star hopping. Constellations are officially recognized groups of stars that represent mythological figures, animals, or objects. The International Astronomical Union (IAU) has identified 88 distinct constellations in the sky.
On the other hand, asterisms are smaller, recognizable patterns of stars that form part of a constellation or multiple constellations but are not officially recognized. Popular asterisms include the Big Dipper, which is part of the Ursa Major constellation, and the Summer Triangle, which encompasses stars from three different constellations.
To start star hopping, it’s essential to familiarize yourself with the most prominent constellations and asterisms for your location and the current season. This knowledge will serve as your roadmap across the sky.
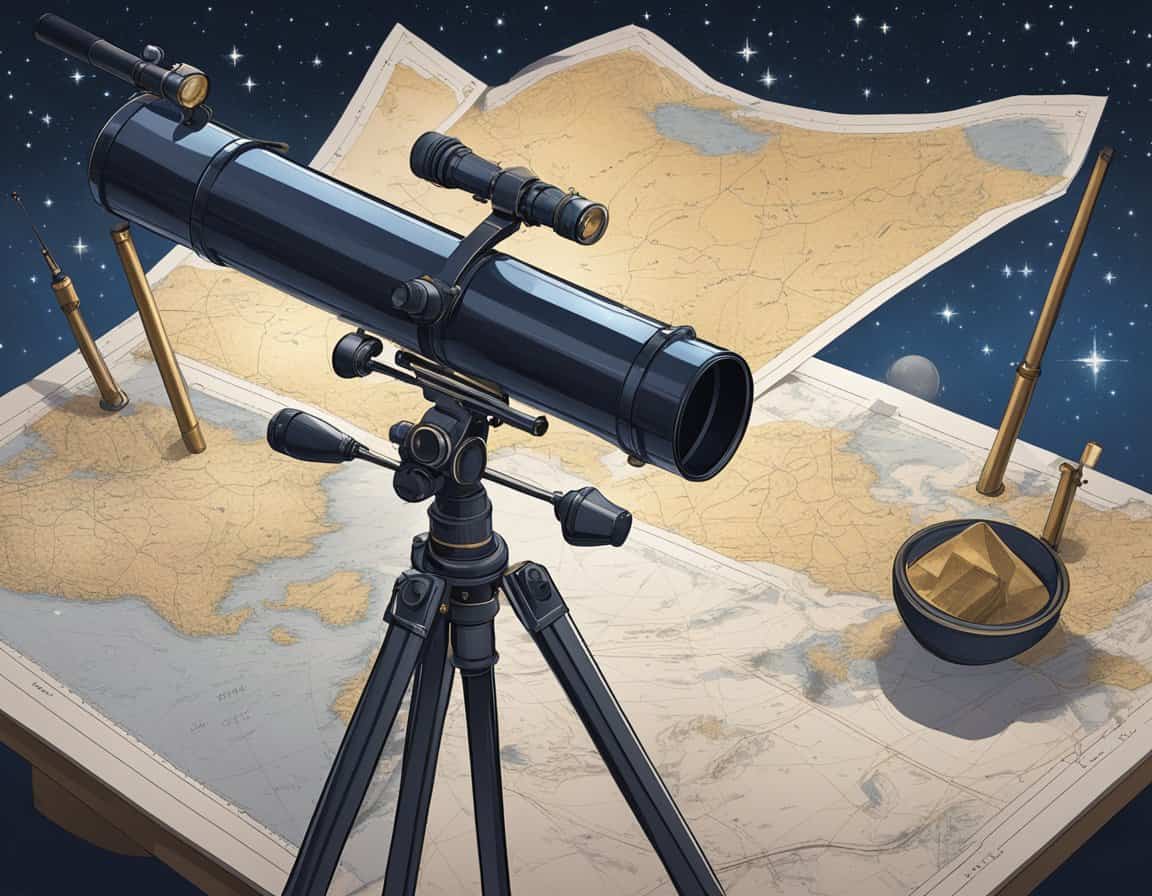
Using a Star Chart
Star charts, also known as star maps or sky maps, are useful tools for beginners to visualize and locate constellations and asterisms. Star charts typically show the position of constellations and bright stars as seen from Earth at specific dates and times.
When using a star chart, here are some steps to follow:
- Choose a star chart: Pick a star chart that represents your current location, date, and time. Many free star charts are available online, and there are also mobile apps that can help you identify constellations in real-time. I love this one Guide To The Stars Map (more below on it)
- Orient the chart: Align the chart with your view of the night sky. If you’re using a printed chart, you may need to rotate it to match the view. Mobile apps usually do this automatically using built-in sensors.
- Identify constellations and asterisms: Locate the prominent constellations and asterisms visible from your location on the chart. Examine the shapes and patterns by connecting the stars.
- Begin star hopping: Once you’ve identified the constellations and asterisms, use them to navigate the night sky and find your target objects, such as other stars, planets, or deep-sky objects.
The best way to star hop is to use both constellations and asterisms as reference points on your star chart while keeping the following tips in mind:
- Start with the brightest stars and work your way towards dimmer ones.
- Use the “star-hopping” technique by jumping from one star to another in the direction of your target object.
- Practice patience and don’t be discouraged if it takes several attempts to locate an object.
With time and practice, using constellations and asterisms to navigate the night sky will become second nature, making star hopping an enjoyable and rewarding experience.
Techniques for Star Hopping
Navigating through the night sky can be a rewarding and fulfilling experience for budding astronomers. This section aims to provide beginner stargazers with some handy star hopping techniques that are both efficient and budget-friendly.
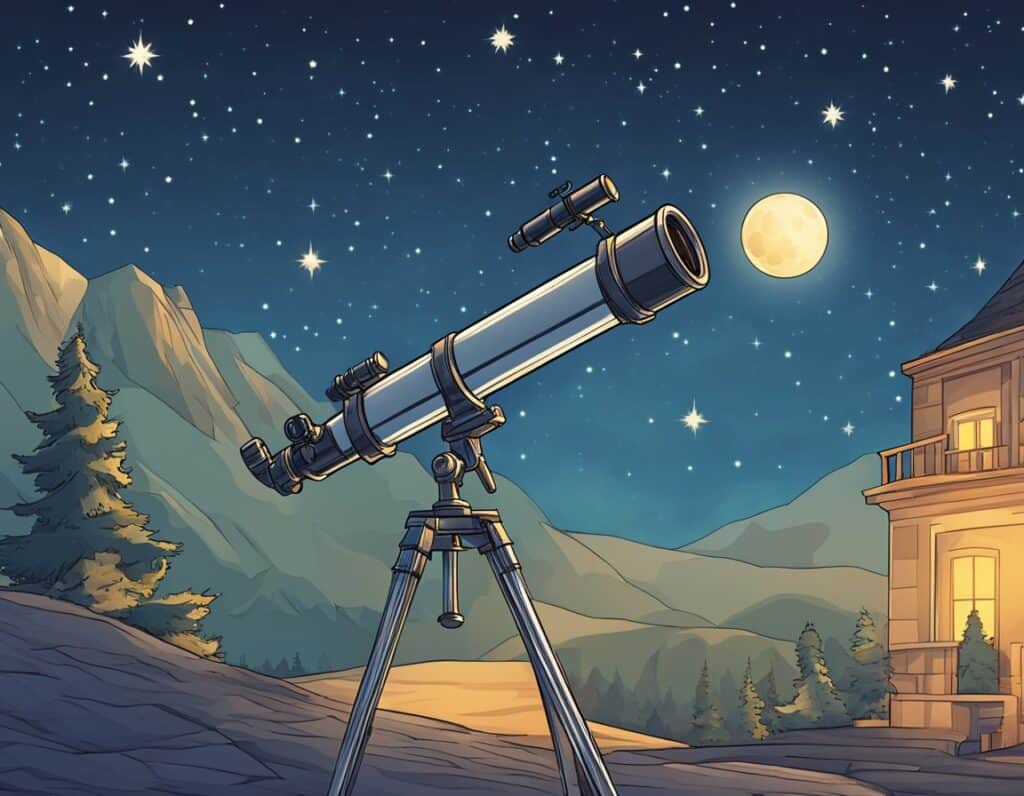
Do I Need A Telescope to Star Hop?
No, you don’t necessarily need a telescope to start star hopping. This technique can be effectively practiced with binoculars or even with the naked eye, especially for identifying and moving between brighter stars and constellations in the night sky.
Star hopping is a fundamental skill in astronomy that enhances your understanding of celestial navigation, making it easier to locate objects when you do use a telescope. You may still need or want the maps and details talked about here on, but a telescope is not needed to star hop.
However, if you want to look toward telescope purchase you may find these articles a good read…
- 9 Telescopes With a 2 Day Shipping, Great for last minute gift ideas?
- What to Look for When Buying a Used Telescope
- Or Even Start here at the beginning, with What is a telescope
- Easiest Telescope To Set Up and Use
Aligning the Finderscope
Before starting a star hopping journey, it’s crucial to align the finderscope to make navigation easier and more accurate. The finderscope, attached to the main telescope, helps locate and center objects more easily.
- Choose a bright star or distant landmark, and center it in the main telescope’s eyepiece.
- Adjust the finderscope’s alignment screws to gently align the finderscope’s crosshairs with the chosen object.
- Double-check the alignment by moving to another bright object and ensuring both the main eyepiece and finderscope agree on its position.
To learn more on aligning your finderscope Finder Scopes click here on this article where We dive a little deeper into the technics and styles.
Jumping Between Stars, What to do?
Star hopping is all about “jumping” between various stars to reach desired objects. The method is simple, cost-effective, and does not require additional tools or equipment.
Follow these steps to hop between stars:
- Map out the path: Plan the shortest route to connect recognizable patterns or easily identified stars, creating a zigzag or curved path.
- Use the finderscope: Gaze through the aligned finderscope and locate the starting point of the path. Remember to re-align the finderscope if necessary.
- Progress to each star: Move the telescope systematically from one star to the next along the planned path, pausing briefly to observe each star and re-center it in the finderscope view.
- Discover objects: Observe how the night sky changes while progressing along the planned path, identifying new objects on the way.
Identifying Landmark Stars
Landmark stars play an important role in star hopping, as they assist in navigation and act as reference points. The easiest way to identify landmark stars includes:
- Brightness: Brighter stars are easier to spot compared to faint ones and make excellent landmarks for star hopping maps.
- Constellations: Familiar constellations like Ursa Major, Orion, or Cassiopeia can guide a stargazer to their desired destination by connecting the dots using these bright patterns.
- Astronomy Apps: Inexpensive or free smartphone apps can be an excellent resource for landmark star identification and planning star hopping routes.
By utilizing these techniques, aspiring astronomers can enjoy star hopping without breaking the bank, as the cheapest way to star hop is by making the most of what the night sky offers. A friendly approach and some practice will pave the path for discovering the wonders of the universe.
Frequently Asked Questions
What Equipment Do I Need to Get Started With Stargazing?
To begin stargazing, all you need are your eyes and a clear night sky. However, you might want to invest in a basic telescope or a pair of binoculars for an enhanced experience. A stargazing app on your smartphone or a star chart can also be helpful for identifying constellations and objects in the sky.
How Can I Locate Constellations in the Night Sky?
To locate constellations, start by familiarizing yourself with the current season’s most prominent constellations. Use a star chart or stargazing app to help you identify the shapes and locations of these constellations. It’s also helpful to learn some key stars and celestial objects, such as the North Star and the Orion’s Belt, which can act as reference points in the sky.
I like this simple to navigate, well once you get use to using it map called Guide To The Stars Map at amazon. It won’t break the bank and stiff enough incase there may be a little wind. Plus, it is still visible with a red light flashlight. Learn more about Red Light Flash lights here
What are some tips for beginners to learn star hopping effectively?
Some tips for effective star hopping include:
- Start by observing the sky on a clear night with minimal light pollution.
- Get comfortable with your telescope or binoculars and learn how to adjust the focus properly.
- Familiarize yourself with key constellations and stars that can serve as reference points.
- Practice finding objects by moving from one star to another in small steps, building a mental map of the night sky.
- Work on increasing your speed and accuracy over time.
Are there any free resources available for learning about star hopping?
Yes, numerous free resources are available for learning about star hopping. Websites like Sky & Telescope and Astronomy.com offer free articles, star charts, and sky maps. There are also a variety of stargazing apps available for smartphones, including free options like SkyView Lite and Star Walk 2. Participating in a local astronomy club or attending a stargazing event can also be a great way to learn from experienced hobbyists.
What’s the best way to use Stellarium for star hopping?
Stellarium is a fantastic resource for star hopping. To use it effectively, follow these steps:
- Download and install Stellarium on your computer or smartphone.
- Set your location and preferred time for observation.
- Use the search feature to locate a specific object or constellation and view its position in the sky.
- Adjust the time in Stellarium to see how the positions of objects change throughout the night.
- Employ the “Night Mode” feature to preserve your night vision while using the software.
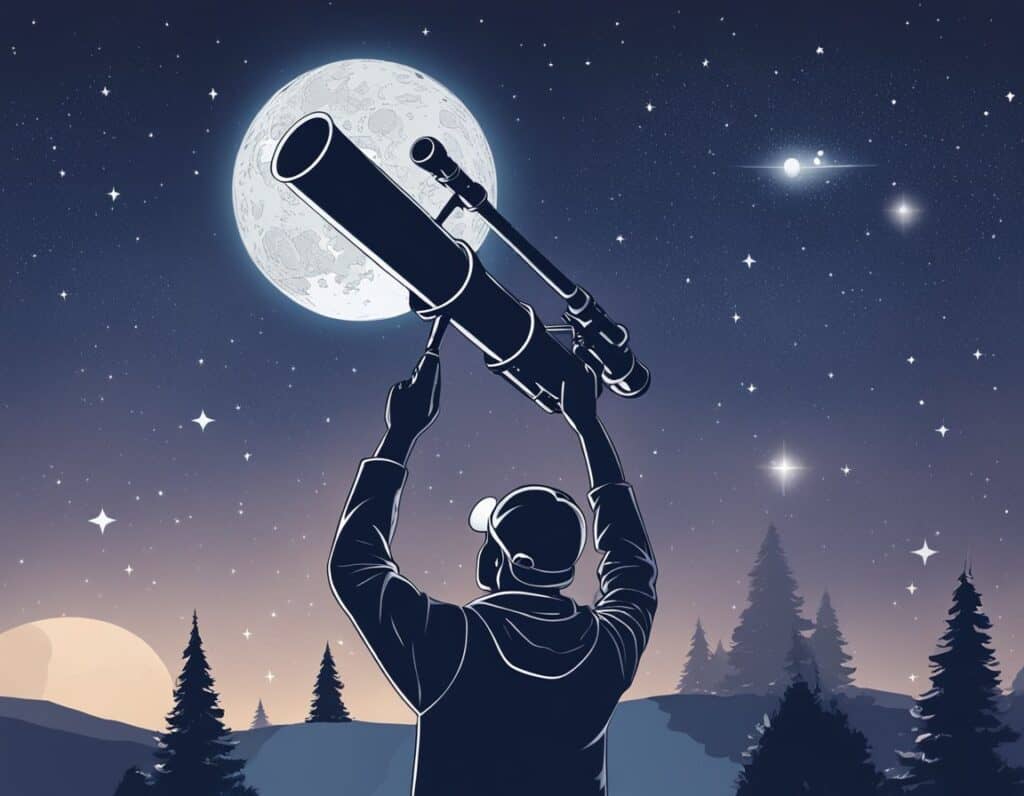
When is the best time to watch the stars for a beginner?
The best time for beginners to watch the stars is during a clear night with minimal moonlight, as this provides the best viewing conditions. Late evenings, after astronomical twilight, are usually ideal, as the sky is fully dark. Additionally, try planning your first stargazing sessions around major astronomical events, such as meteor showers or the opportunity to see visible planets, to enhance your experience.